Knowledge base has built-in support for creating and editing drawings via integrating with diagrams.net. This integration provides very powerful drawing/diagram editing capabilities for a range of use-cases.
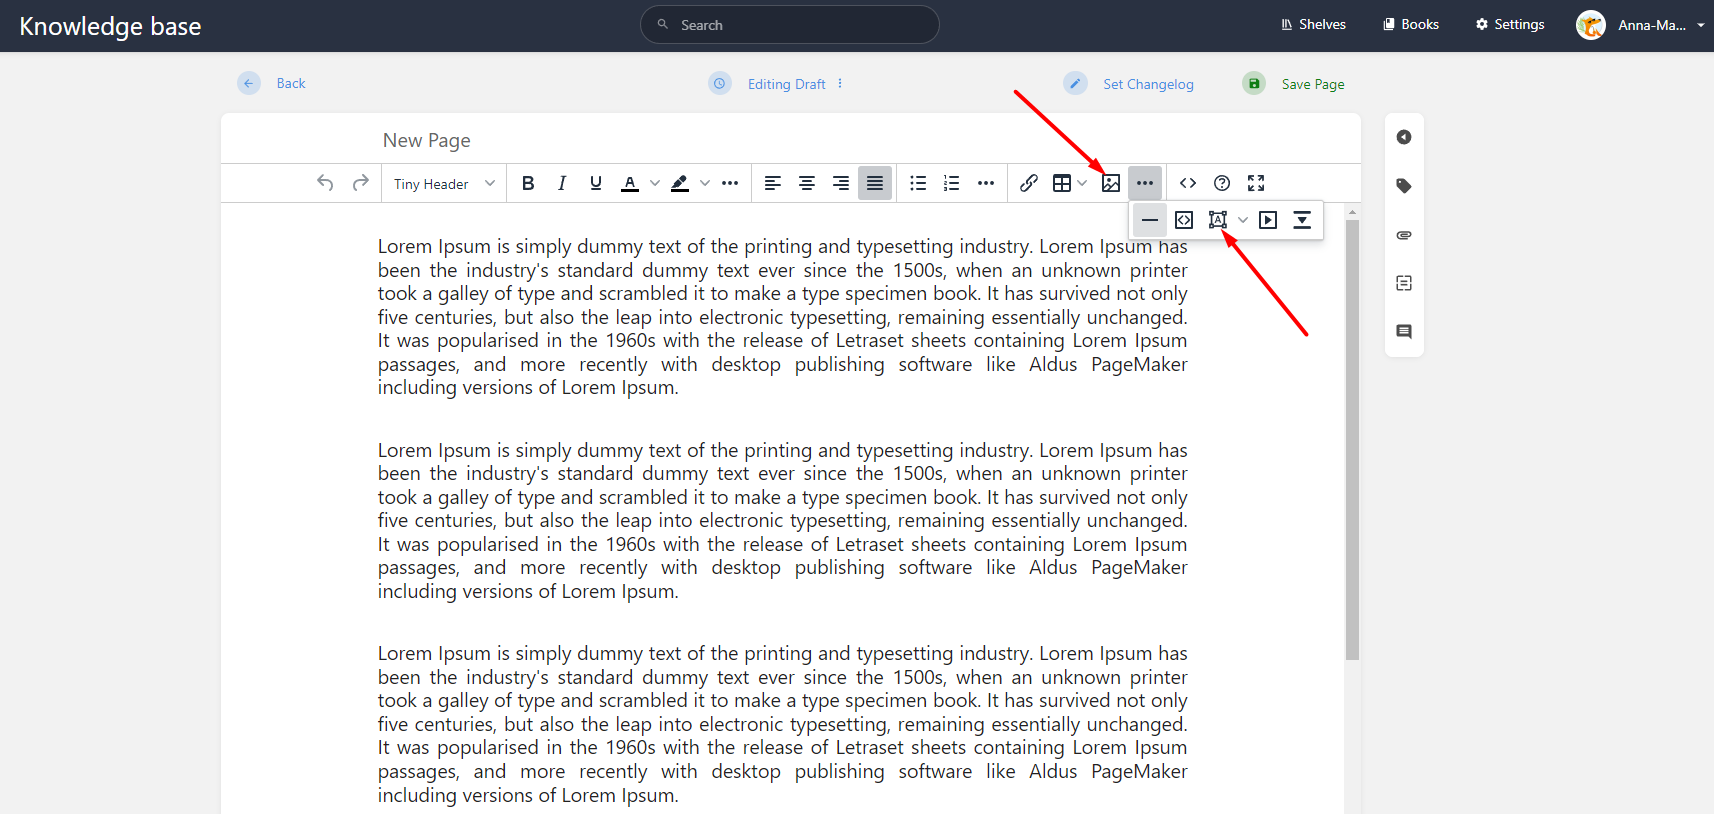
When using the WYSIWYG editor, drawings can be created & inserted into the page via a button in the editor toolbar. The button is located in an overflow menu that’s within the same section as tables and links:
To open an existing drawing for editing, simply double click on the drawing within the editor. Alternatively you can press the toolbar drawing button while a drawing is selected. When you edit an existing drawing and save, the new version is saved as a separate image file by Knowledge base, instead of overwriting existing drawings. This is to allow proper revision history with old drawings intact.
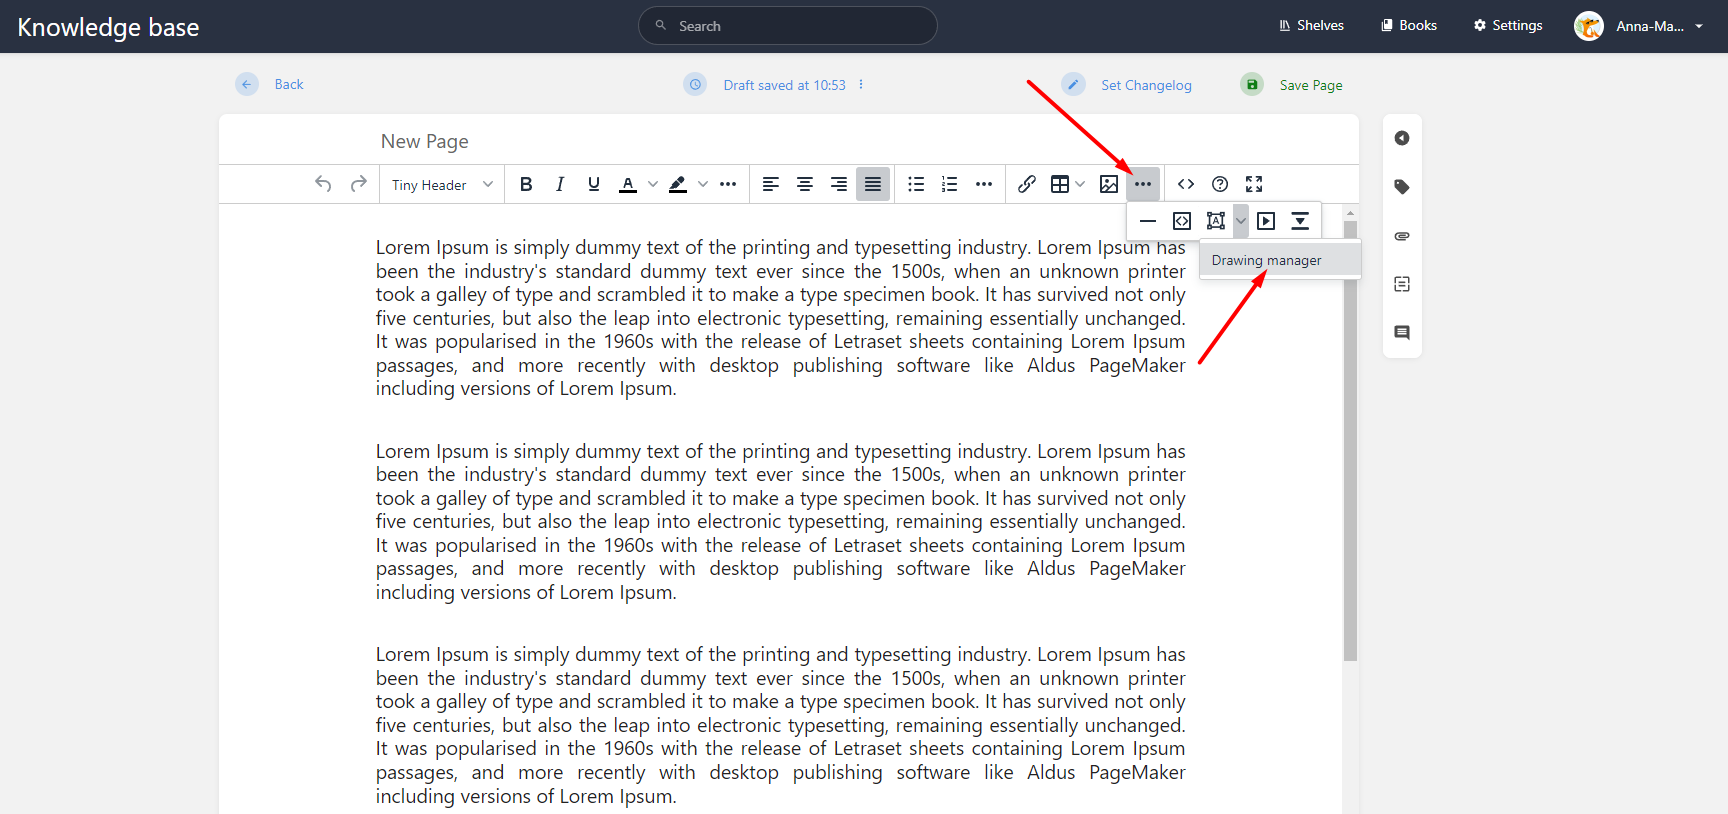
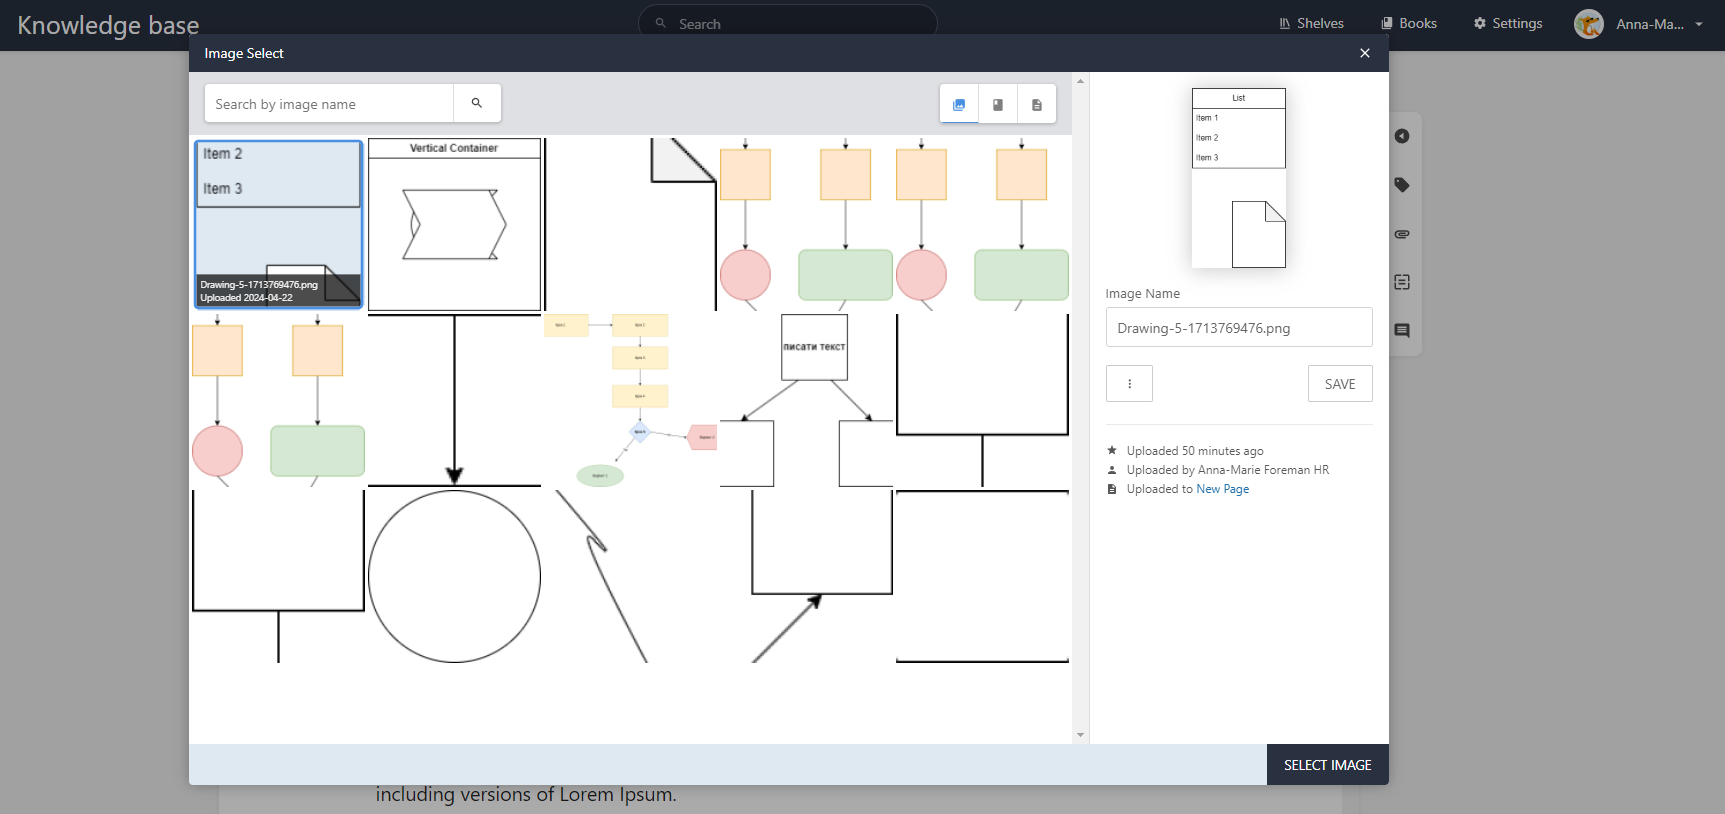
Existing drawing files can be re-used or deleted via the drawing manager. This can be accessed via the dropdown that sits next to the editor drawing toolbar button:
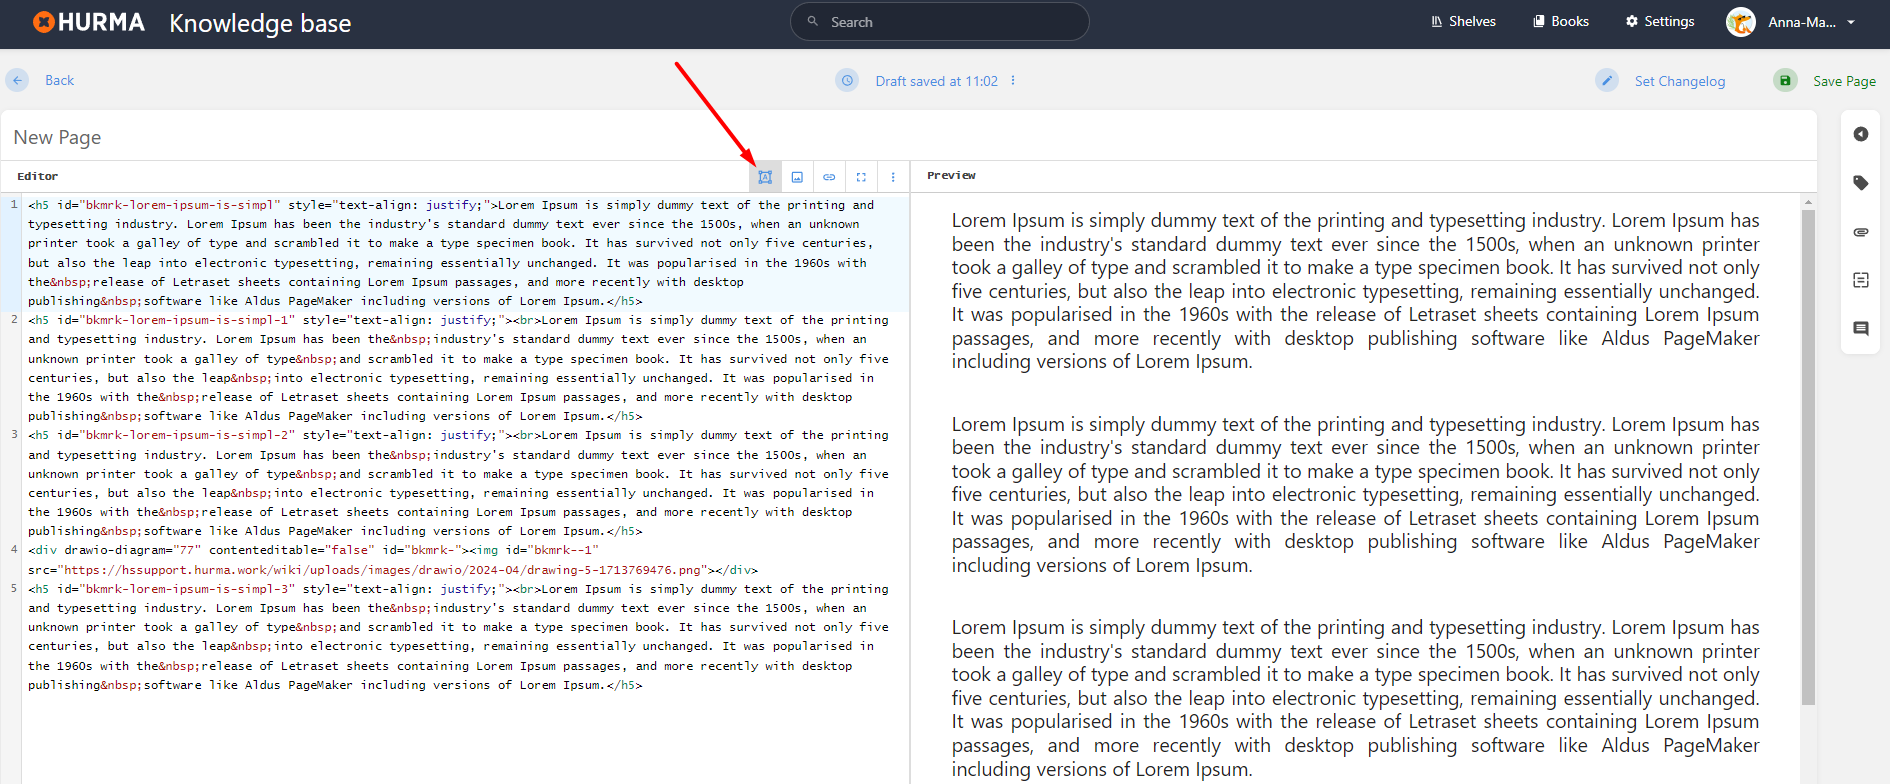
Within the markdown editor you can insert a drawing using the action found above the markdown content:
To open an existing drawing for editing, just double click the image within the preview window and the existing drawing should be opened for editing. When you edit an existing drawing and save, the new version is saved as a separate image file by Knowledge base, instead of overwriting existing drawings. This is to allow proper revision history with old drawings intact.
Drawings files created via the diagrams.net integration are saved to your own Knowledge base system, using the same storage mechanism as configured for normal images.
For portability & compatibility, drawings are saved in PNG file format, with the original diagrams.net drawing data embedded within. Since the drawing data is embedded with the PNG image file, you can continue editing such drawings in any diagrams.net instance just by dragging-in or importing the image file.
