The new “Forms” feature is a powerful tool for collecting information from candidates (questionnaires, surveys, document scans, etc.) and conveniently transferring this data to the employee profile.

Below we’ll take a detailed look at how to set up and create a form.
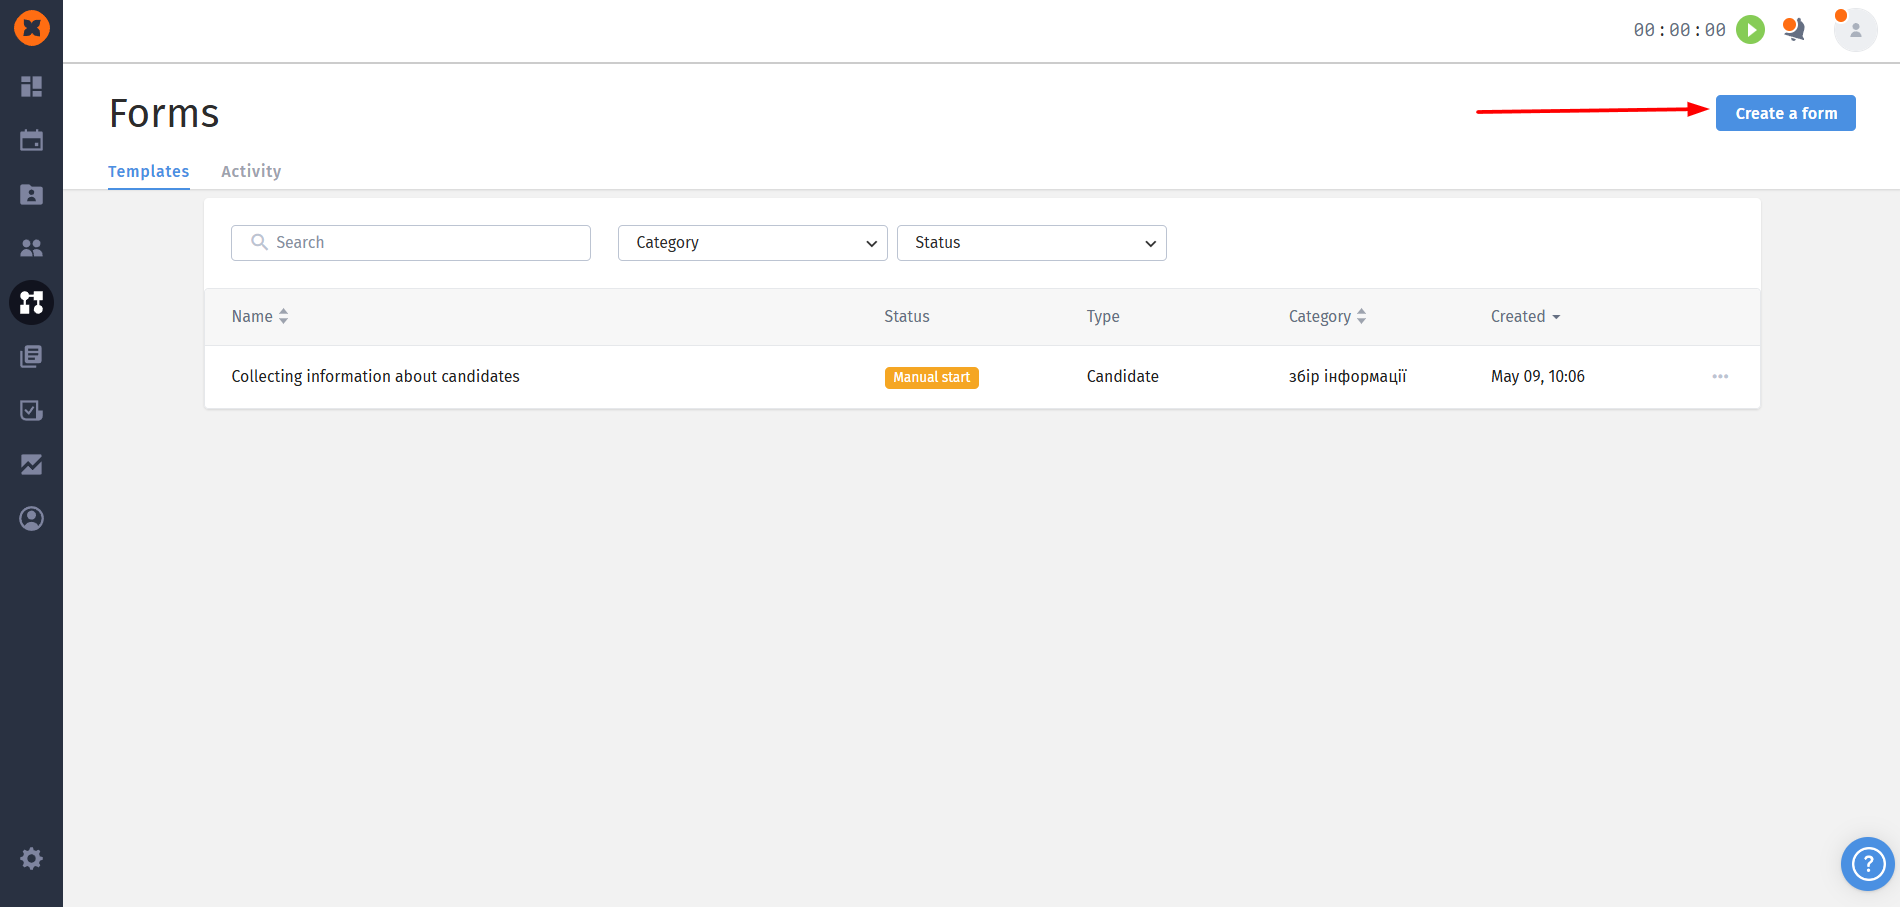
To create a form, go to the “Automation” - “Forms” section and click the “Create a form” button.
Step 1 “General settings” - at this step you configure the basic parameters of the template and the email to the candidate.
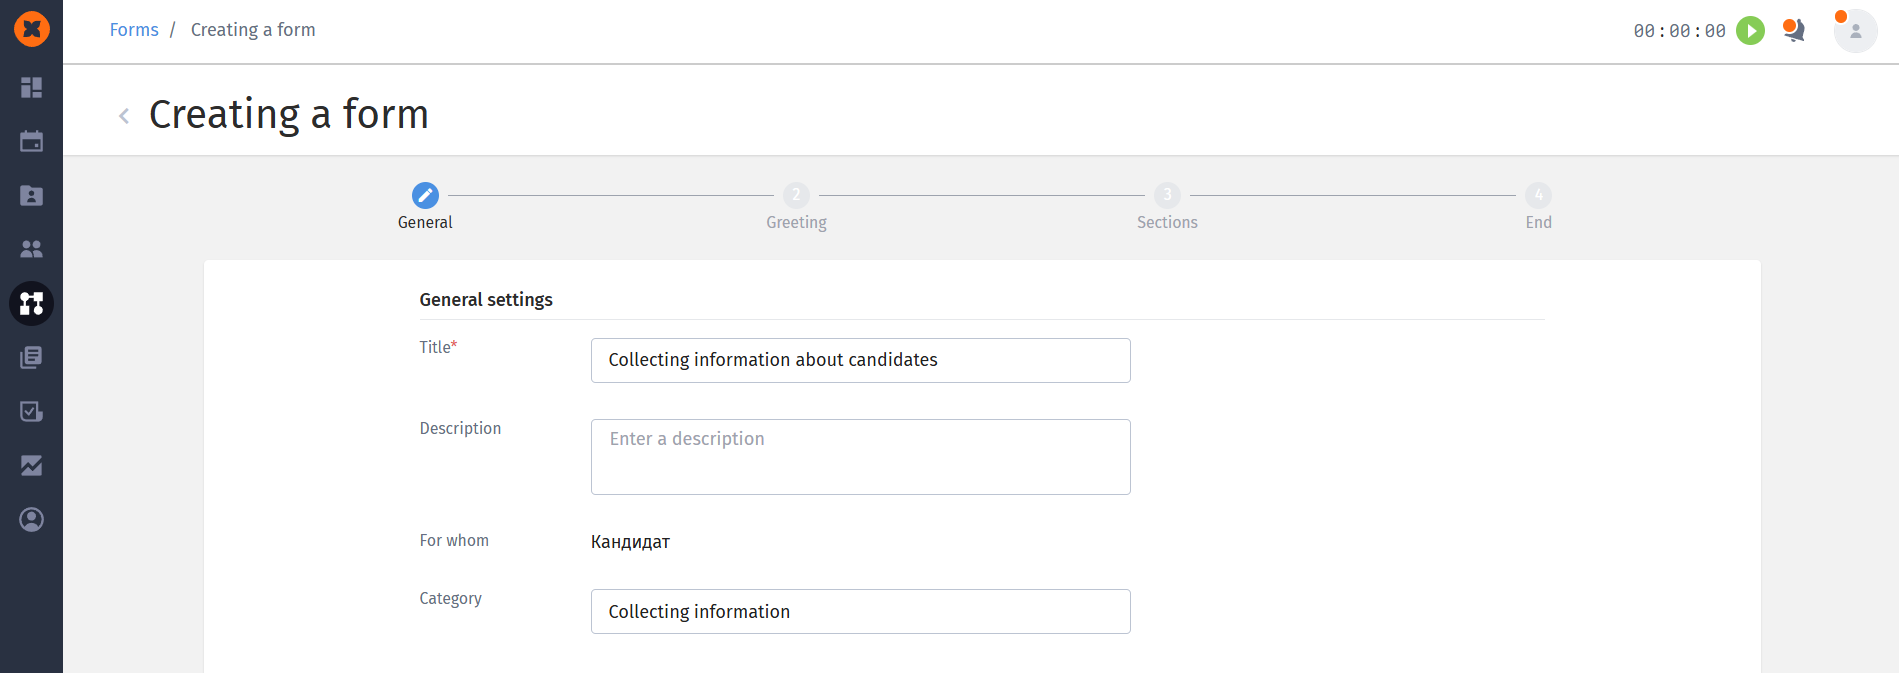
Title: required field (has a character limit).
Description: optional field for internal use.
Category: you can choose an existing category from the dropdown list or create a new one (by entering a name and pressing Enter).
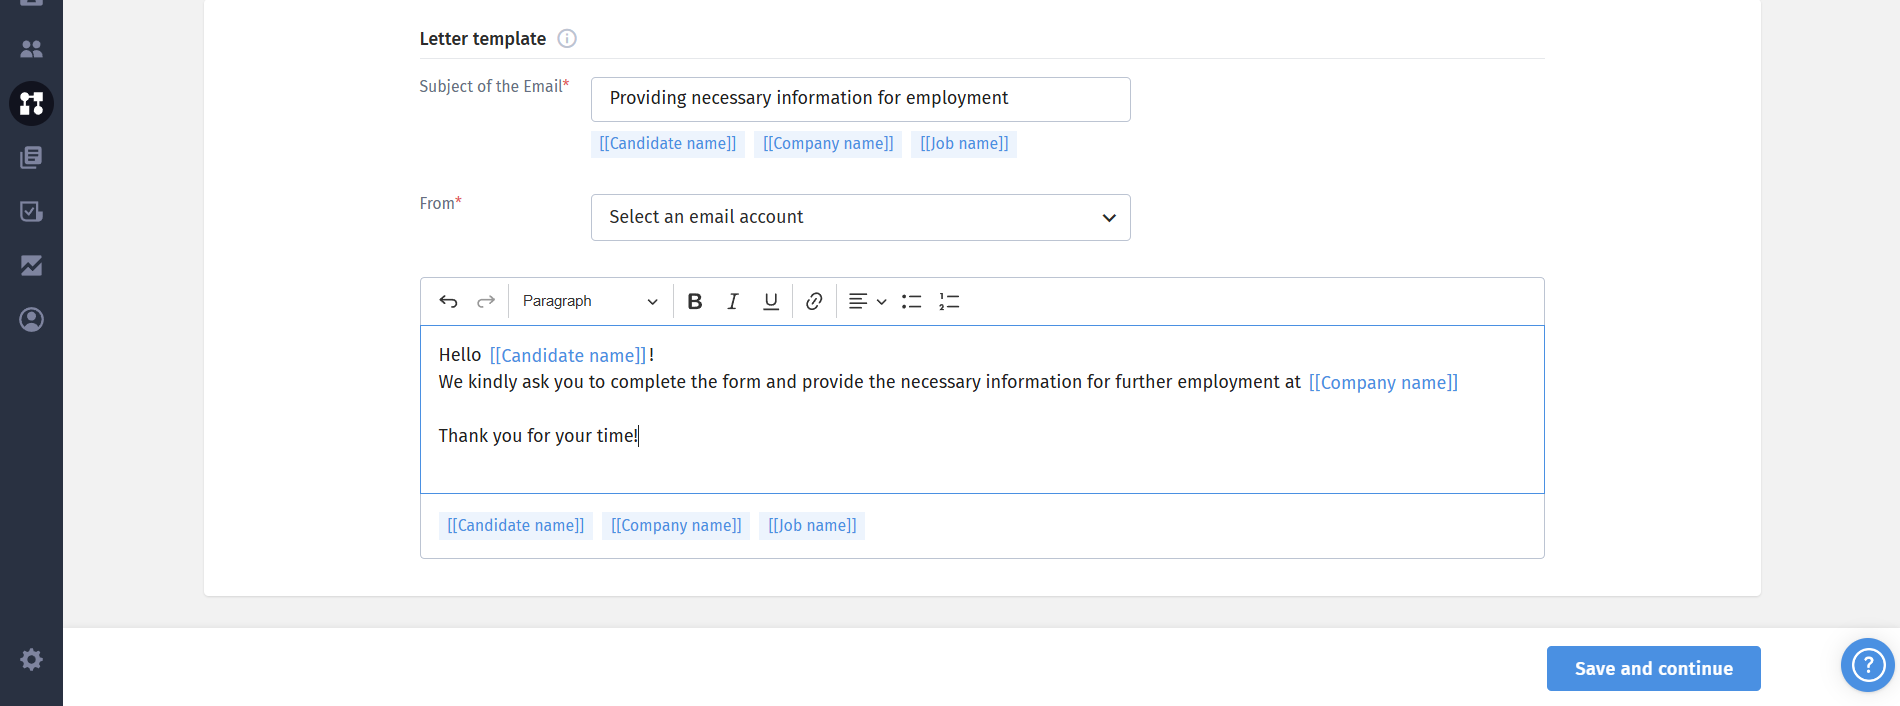
Email template:
“Subject of the Email” (required) and “Email body” (required): in both fields you can use the tags candidate name, company name, job title. Text formatting is also available for the email body.
“From”: make sure you select the sender's email account (personal or system)
Step 2 “Greeting” - the first page the candidate will see after following the link.
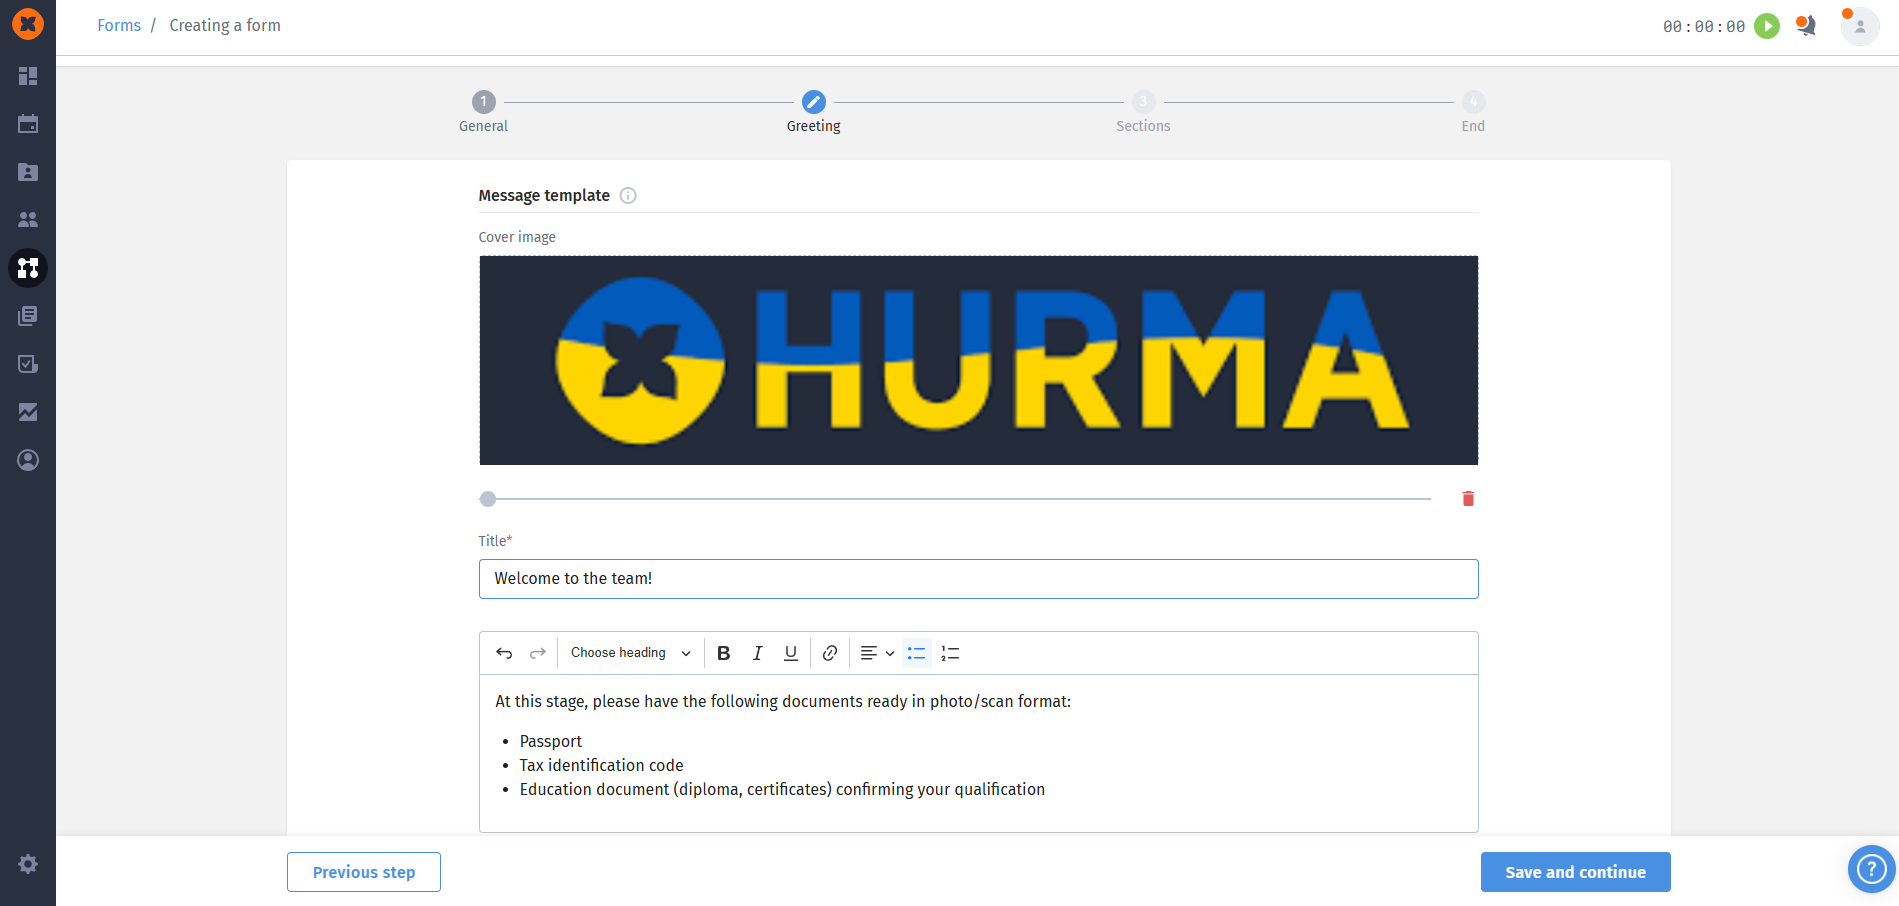
Cover image: upload a picture. You can enlarge it, shrink it, or delete it.
Title: required field with a character limit.
Message text: optional field with formatting options.
Step 3 “Sections”: the main part of the form. The form can contain up to 50 sections that you can rearrange (this will also change their order for the candidate).
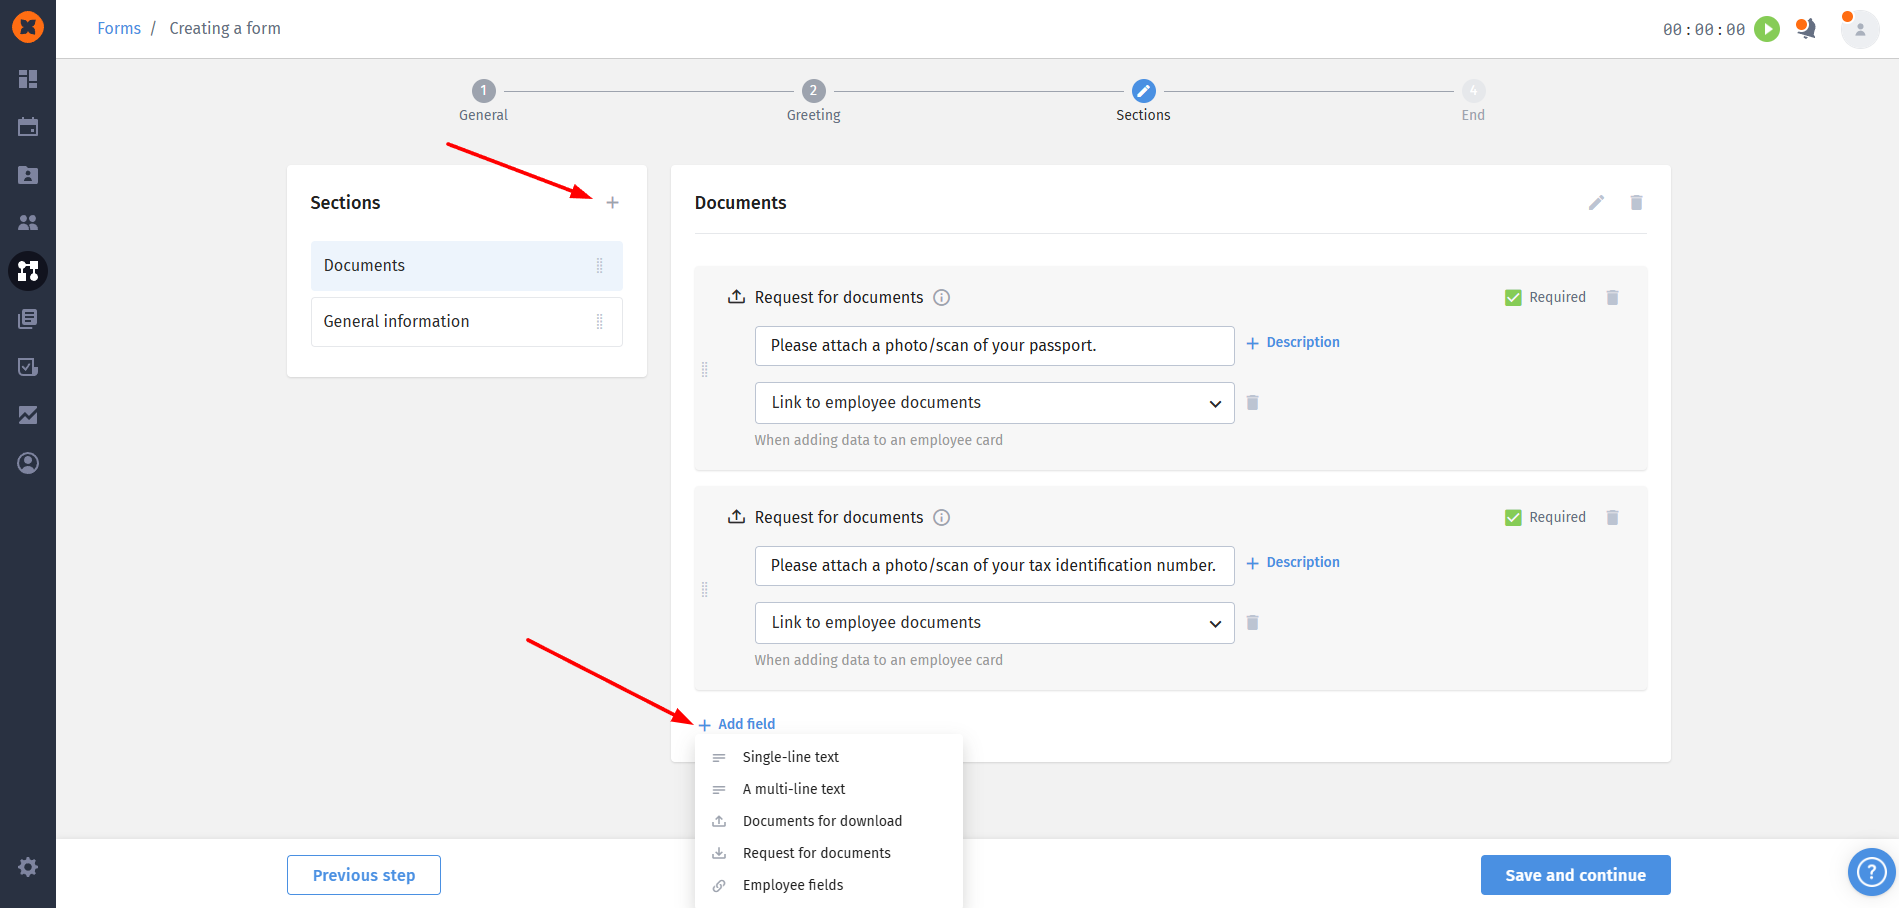

Types of fields available inside a section:
Sigle-line text and multi-line text field: can be made required, and have character limits.
Documents for download: add files for the candidate (for example, a company description). The candidate will be able to download them all at once.
Request for documents: a field for the candidate to upload files (system limits on file size, format, and number of files apply). This field has an important attribute: “link to employee files/documents”, which will allow autosaving to the profile.
Employee fields: these are fields synced with the employee card in the system. Their validation rules (for example, choosing a date or gender) are identical to those used when creating an employee.
Step 4 “Completion”: the final thank-you page after the candidate submits the form.
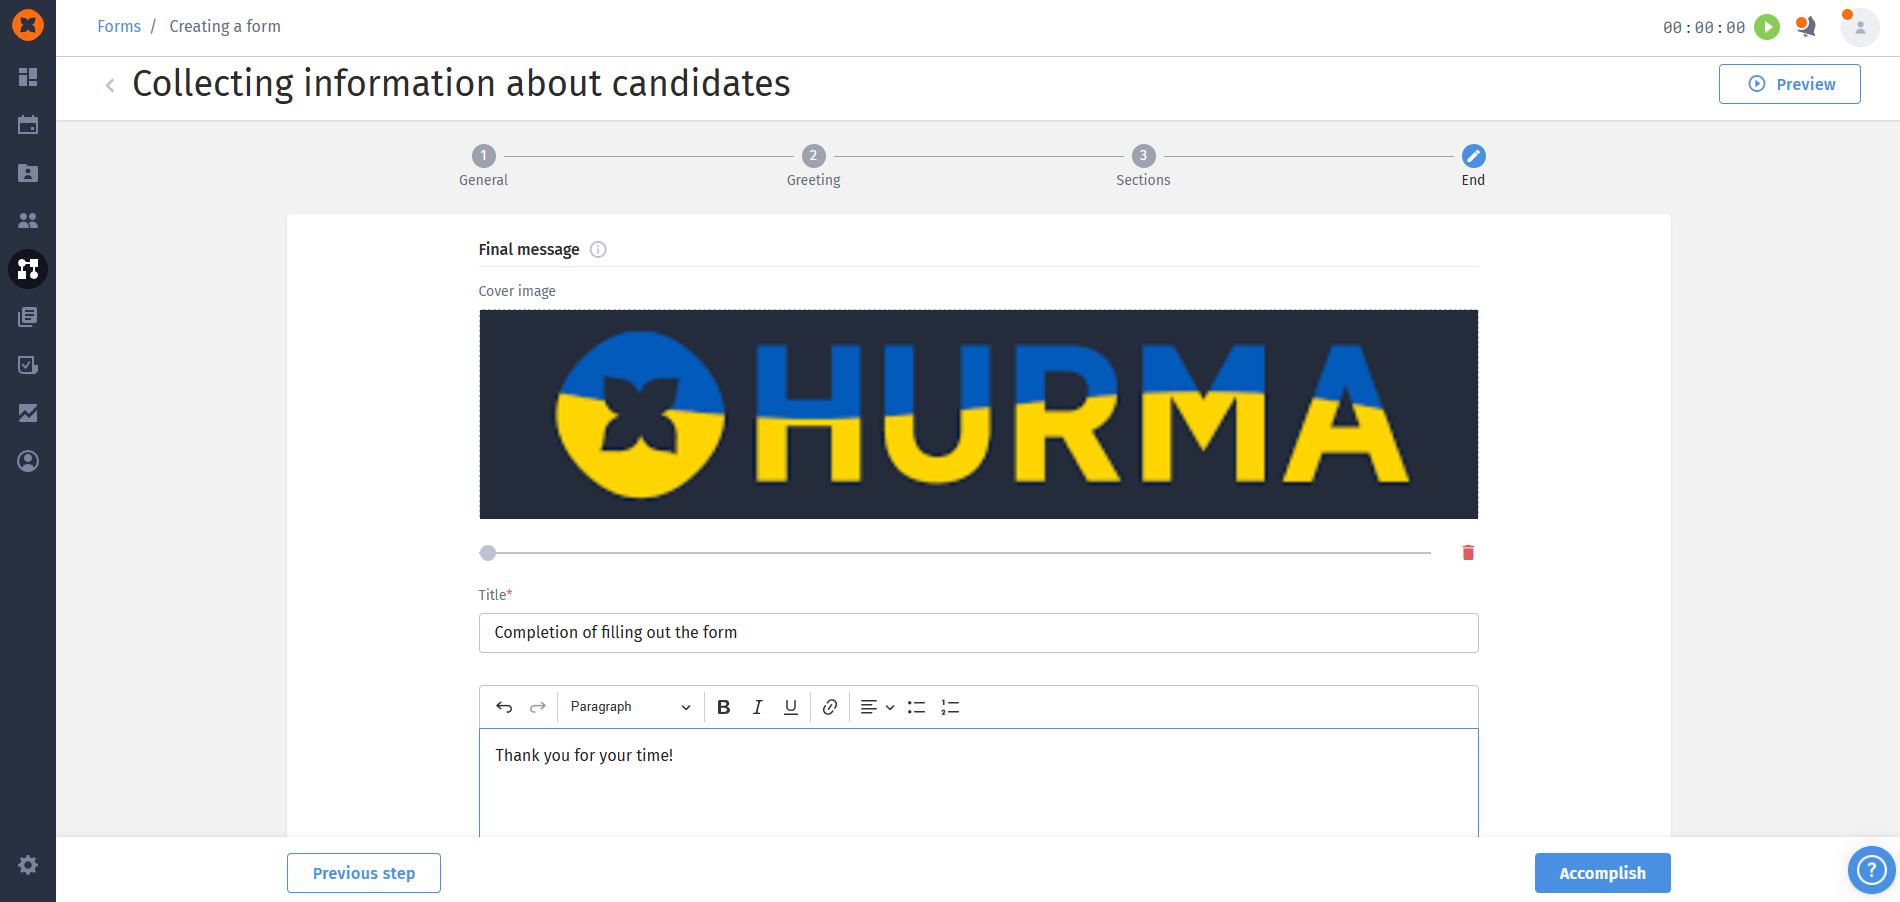
Includes: “Cover image”, required “Title” and “Message text”.
Links: You can add one or several useful links (the system validates the format of the entered URL).
After filling it out, click “Finish”
