Pipeline templates are a tool that lets you set up a standardized sequence of selection stages once and then use it for many similar positions in the company. This significantly saves time on creating new job openings and helps keep your recruiting analytics organized.
Below is a detailed description of how templates work, how to set up rejection reasons, and what to pay attention to when editing stages so you don’t lose historical data.

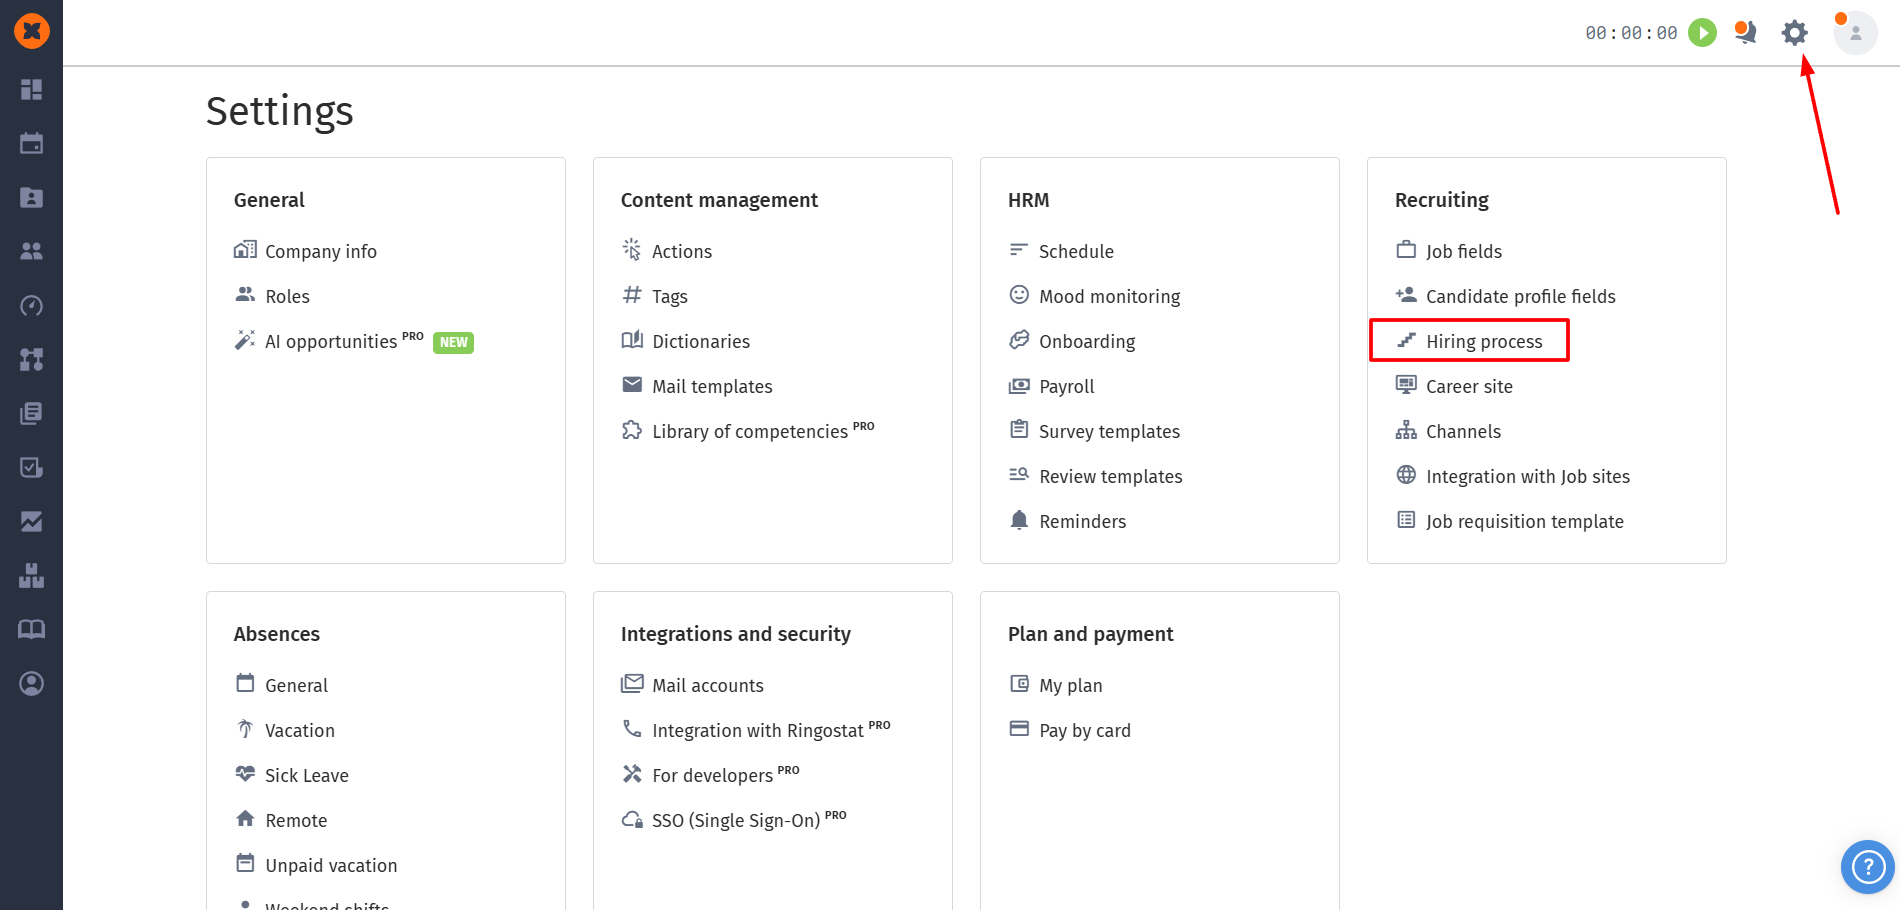
To create a new template, go to “⚙“ - “Hiring process“ - “Pipeline templates“.
Creation steps:
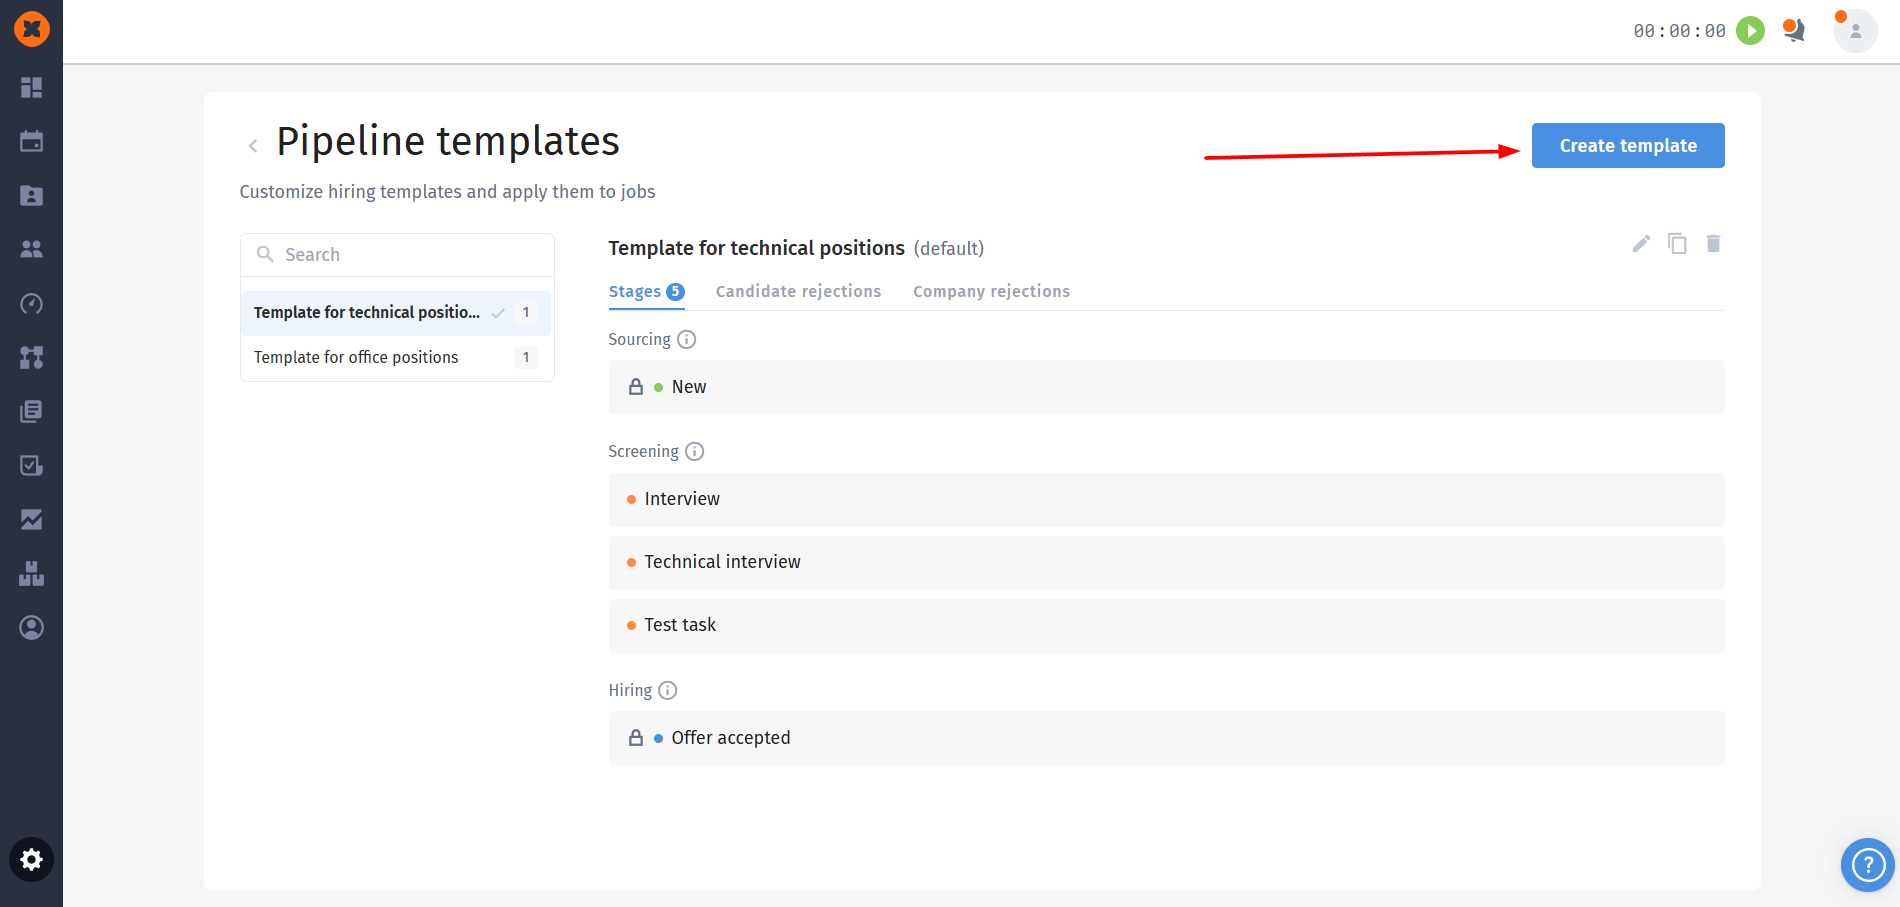
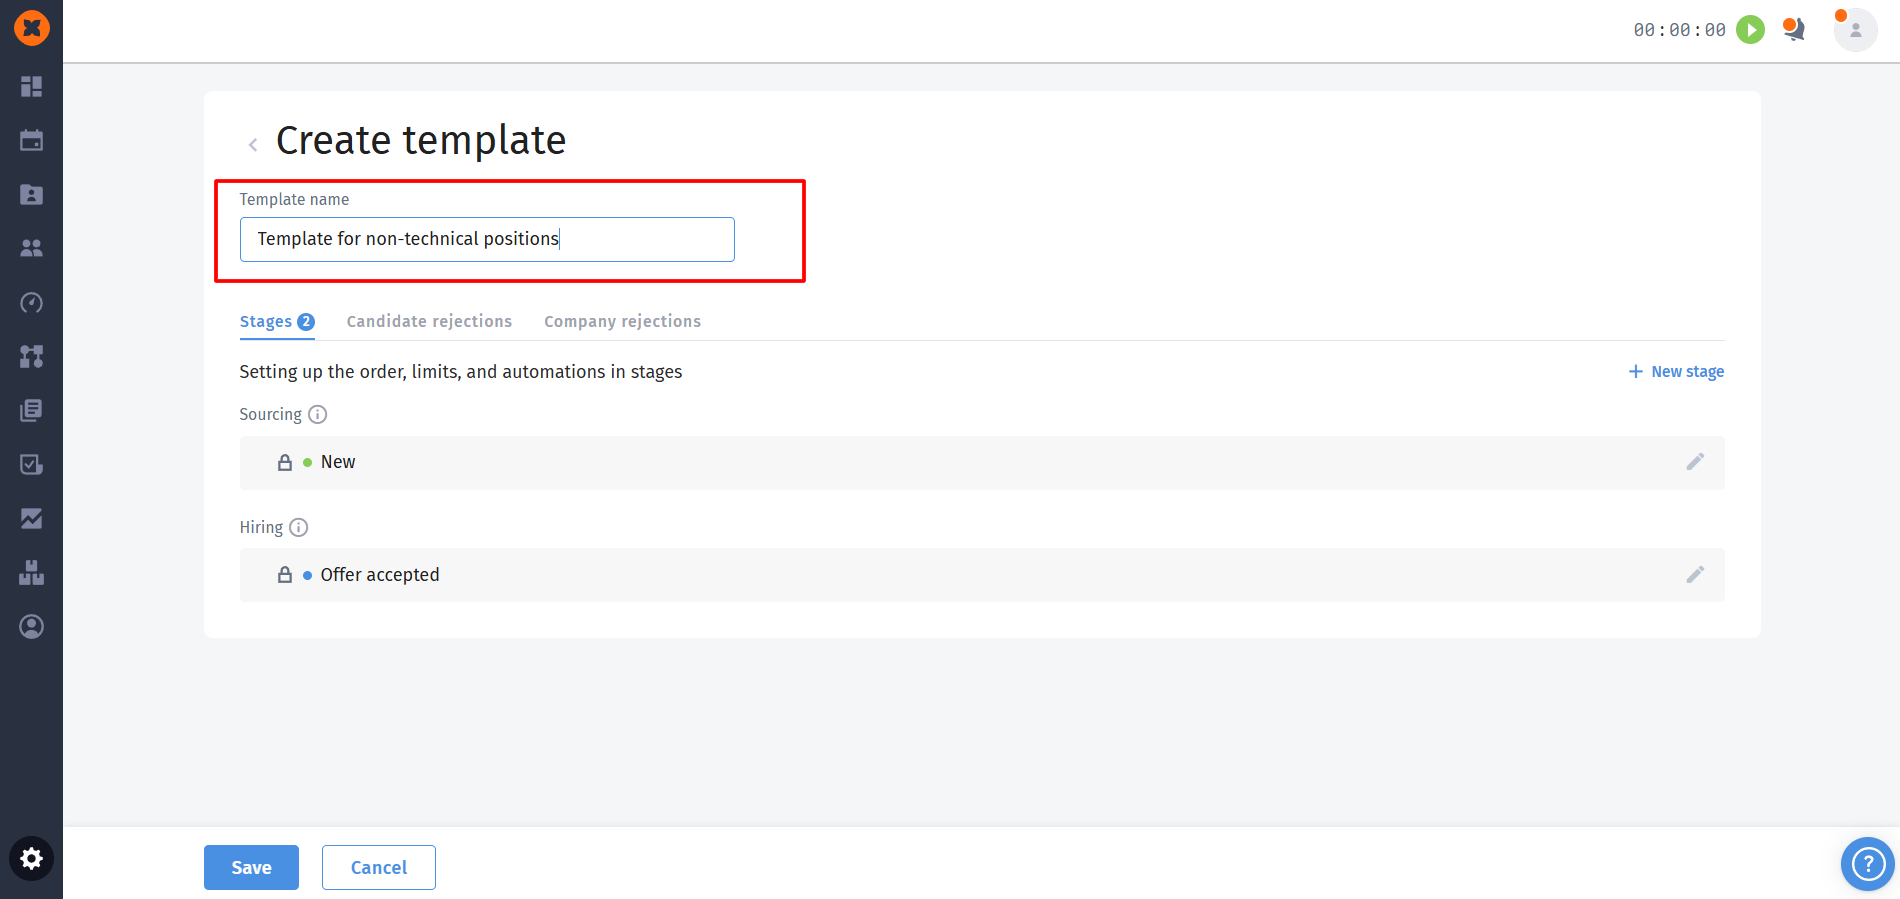
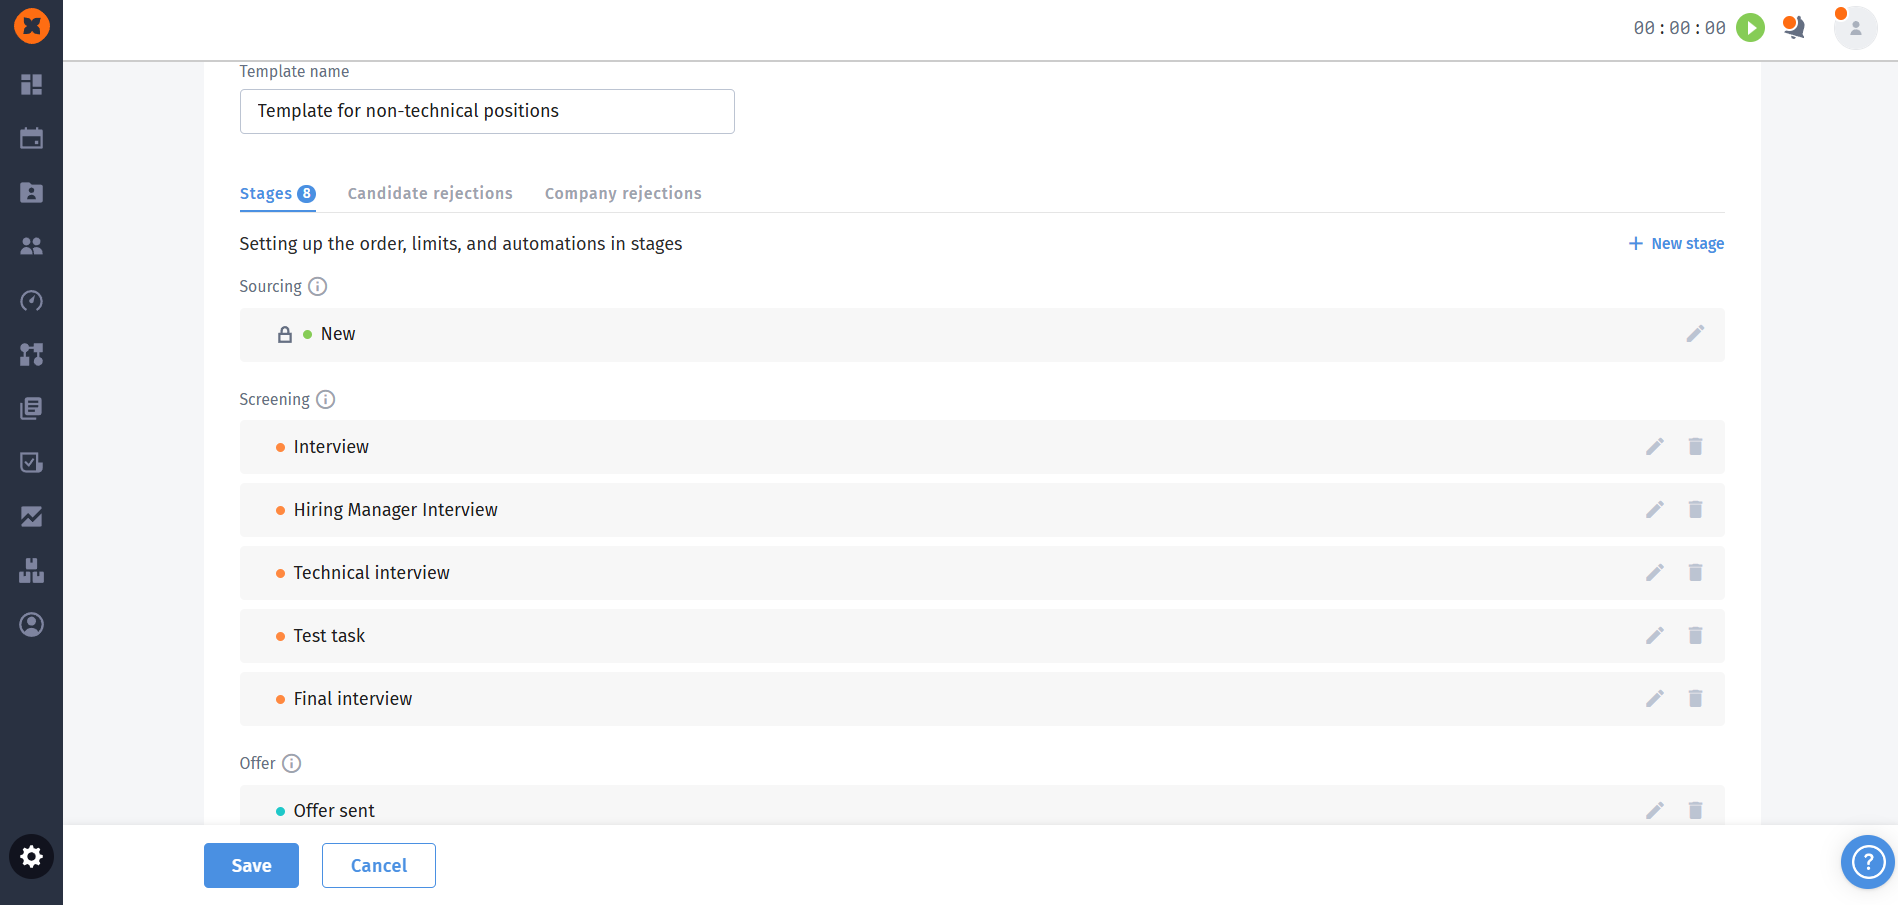
Click the button to create a new template and enter its name.
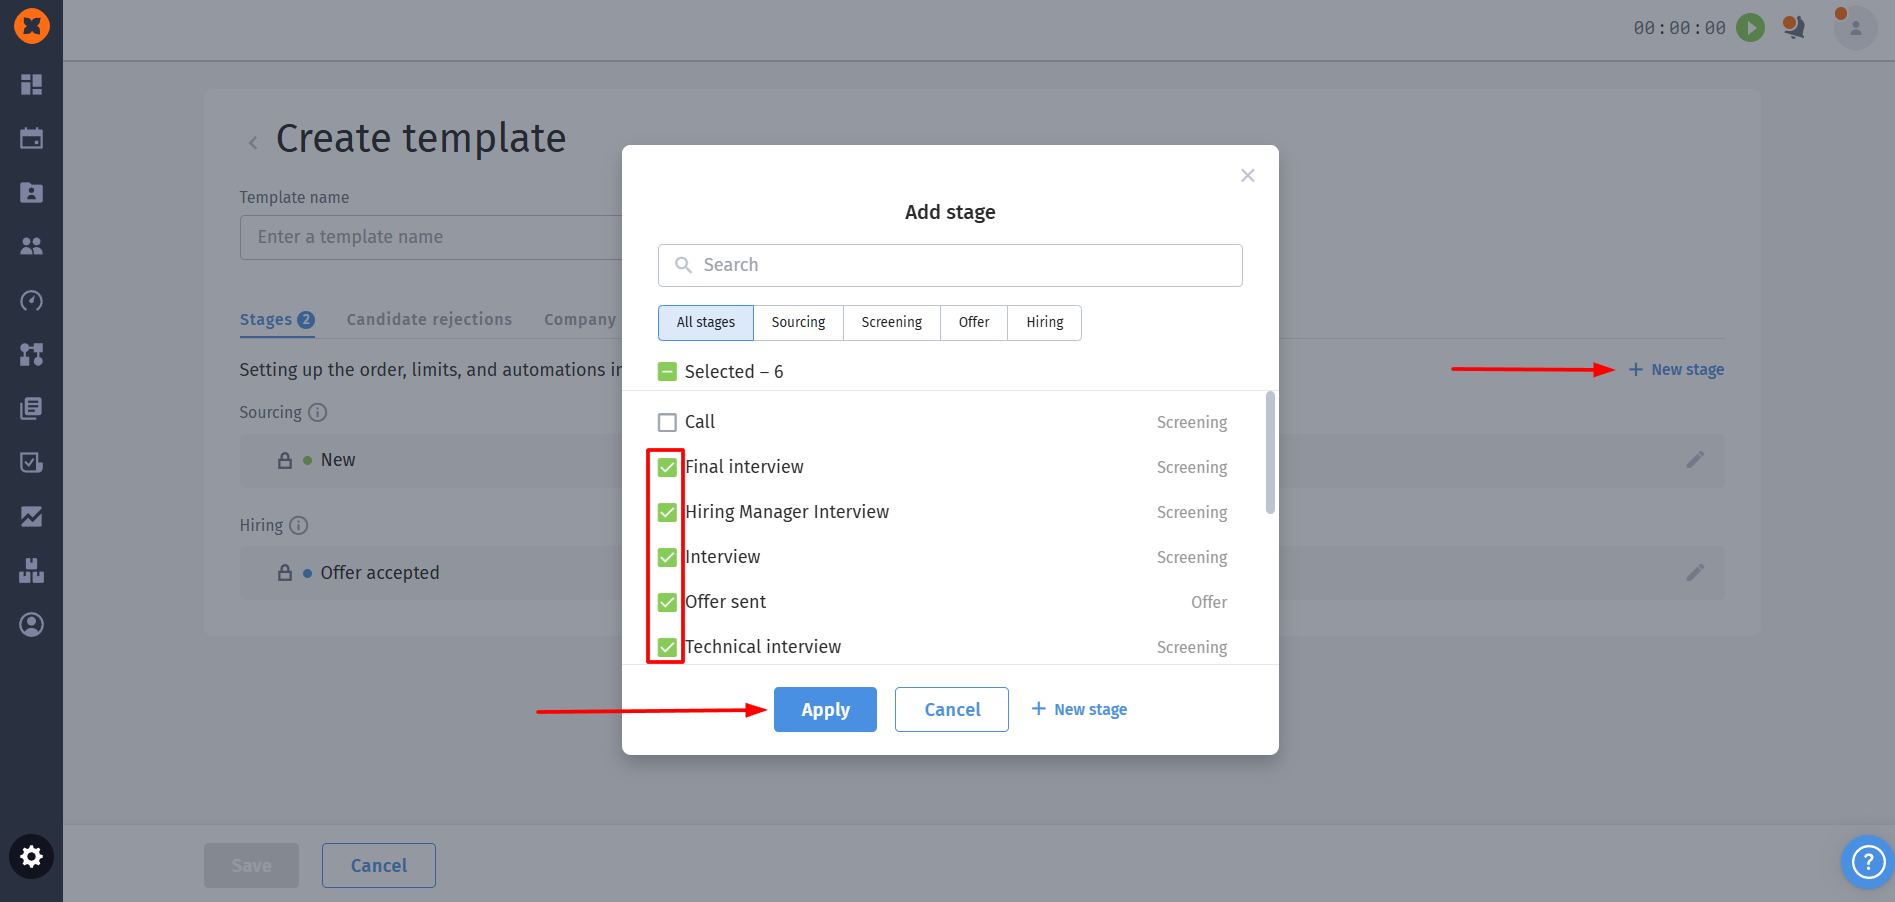
Add the necessary stages from the existing list or create a new stage directly in the template setup window.
Arrange the stages in the desired order. Note: the system won’t let you move stages of different types relative to each other (for example, “Offer” stages will always come after “Sourcing” and “Screening” stages).
You can add to a specific stage or rejection an automatic email sending or a time limit for staying in the stage, and these settings will only work within this template, automating processes for all linked vacancies.
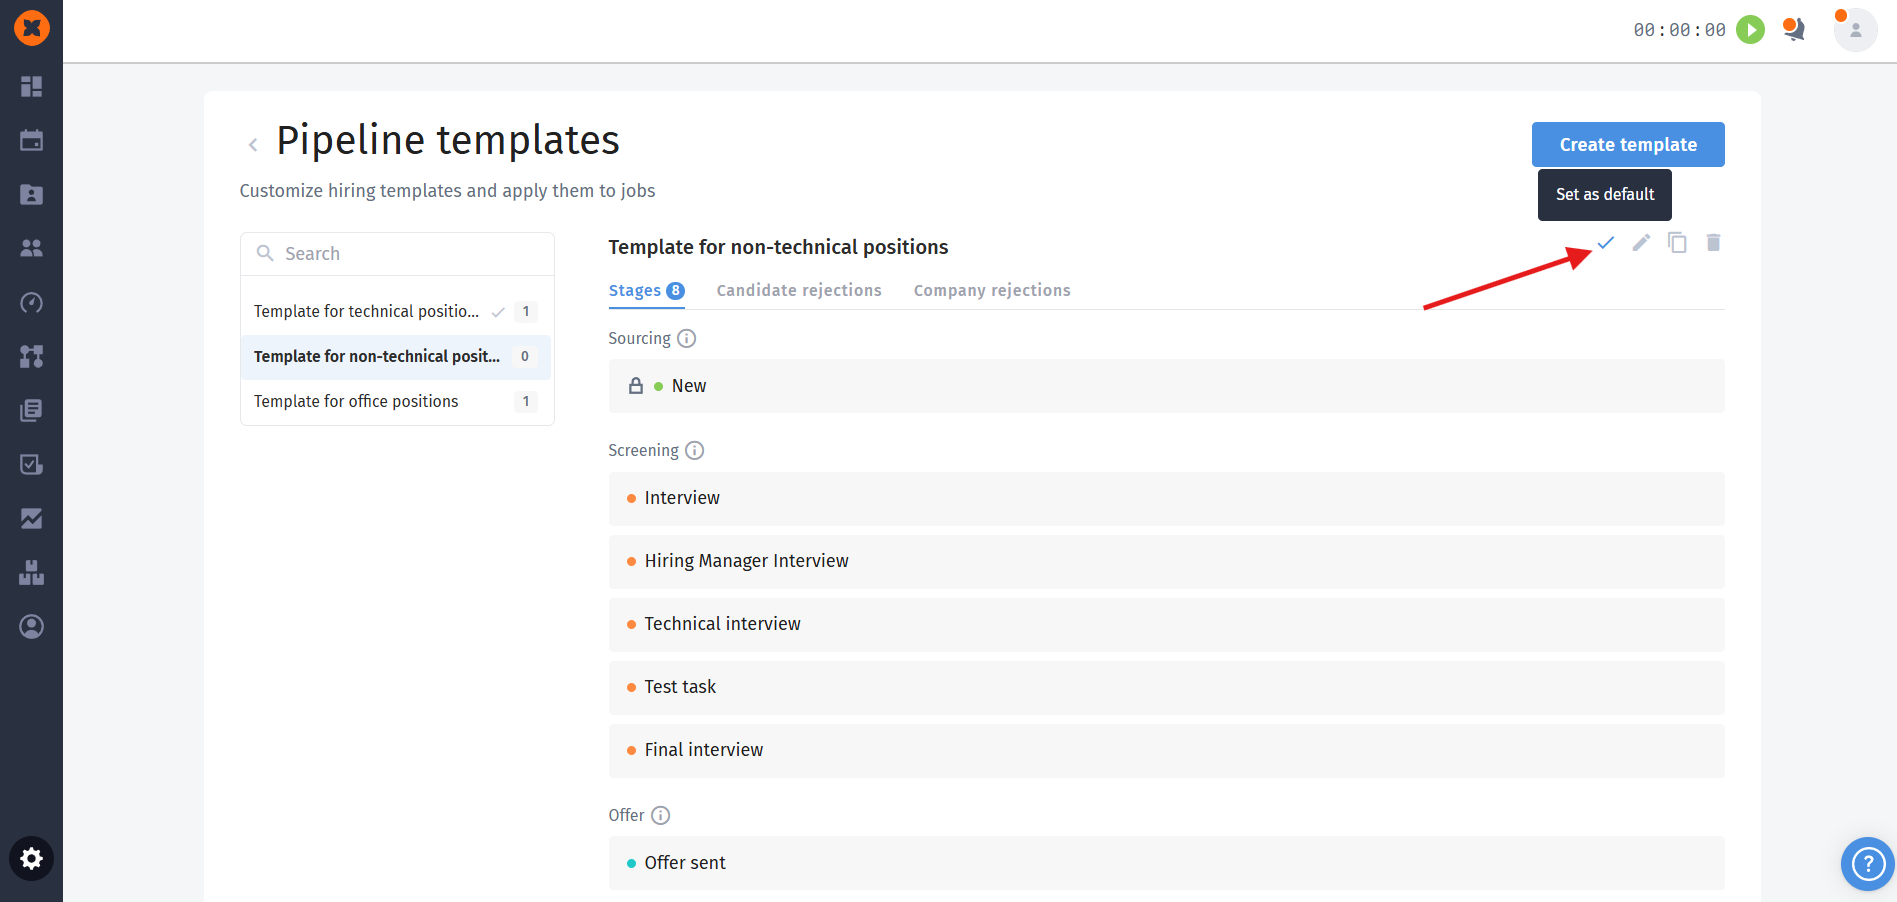
You can choose one of the created templates as the base one ("Default"). When you create a new vacancy, the system will automatically suggest exactly this stage structure, but you’ll be able to change it if needed.
It’s important to distinguish between two types of editing:
Global editing (through the “Recruiting“ - "Pipeline templates" section): if you change the order of stages or add new ones directly in the template settings, these changes will be instantly and automatically applied to all vacancies, which use this template.
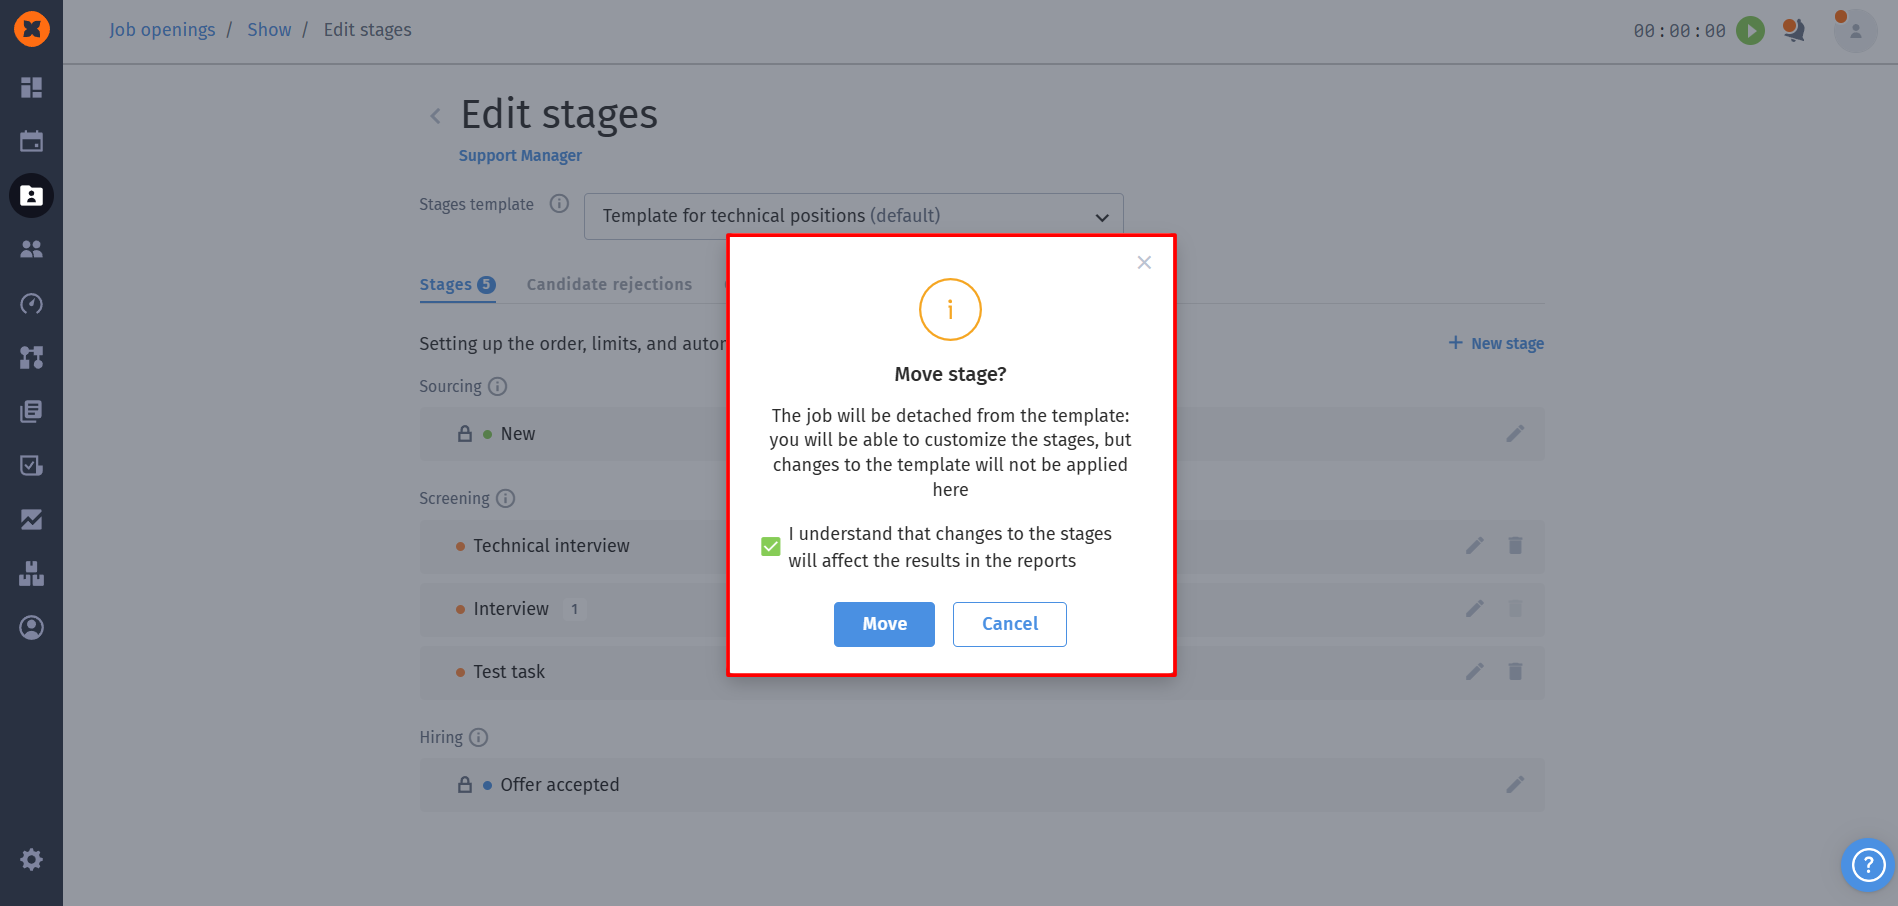
Local editing (inside a vacancy): if you go to the settings of a specific vacancy and start changing the structure of stages (adding new ones or changing the order), the system will warn you that this action will unlink the vacancy from the template. After that, the vacancy will get the "No template" status, since its pipeline no longer matches the standard.
When you decide to apply a new template to a job opening that already has its own history and stage structure (for example, with the "No template" status), the system launches a special data transfer process. Below is a detailed description of how the stage mapping mechanism works and what technical consequences it has for your analytics.
1. How stage mapping works
If you change the structure of an active job opening to a template, the system will prompt you to manually "move" candidates from old stages to new ones.
Mapping process:
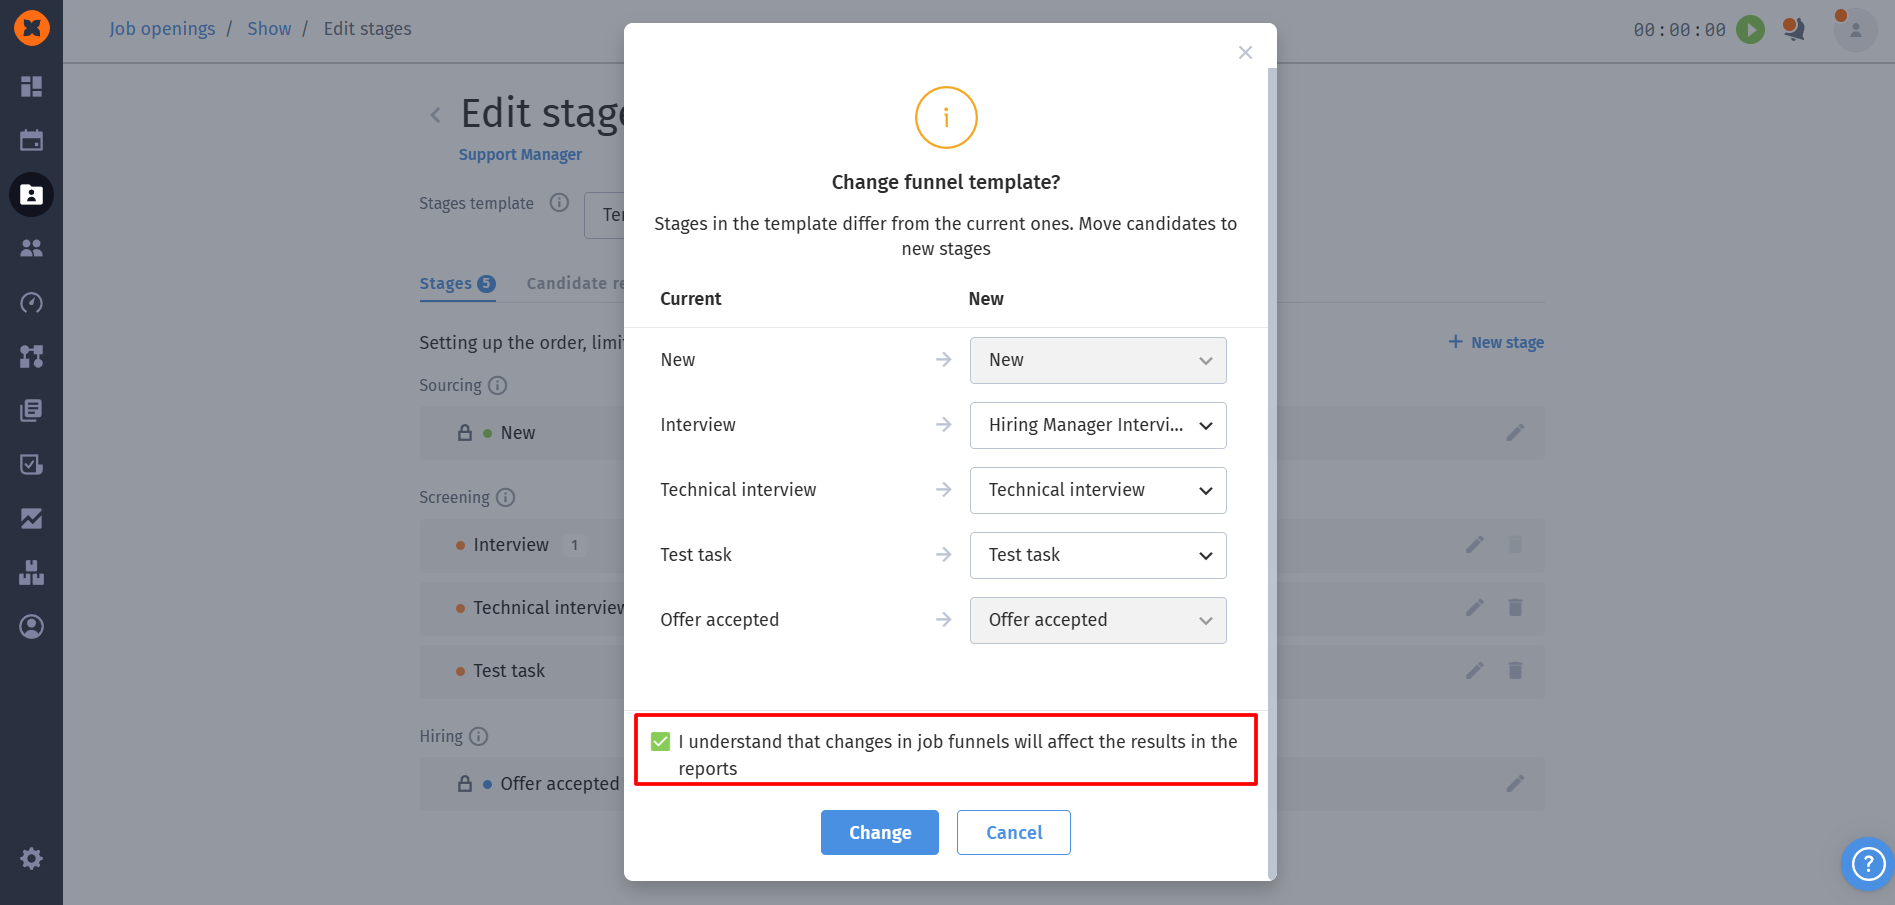
You’ll see an interface where the old structure is on the left and the new template is on the right. Your task is to specify exactly where candidates should move.
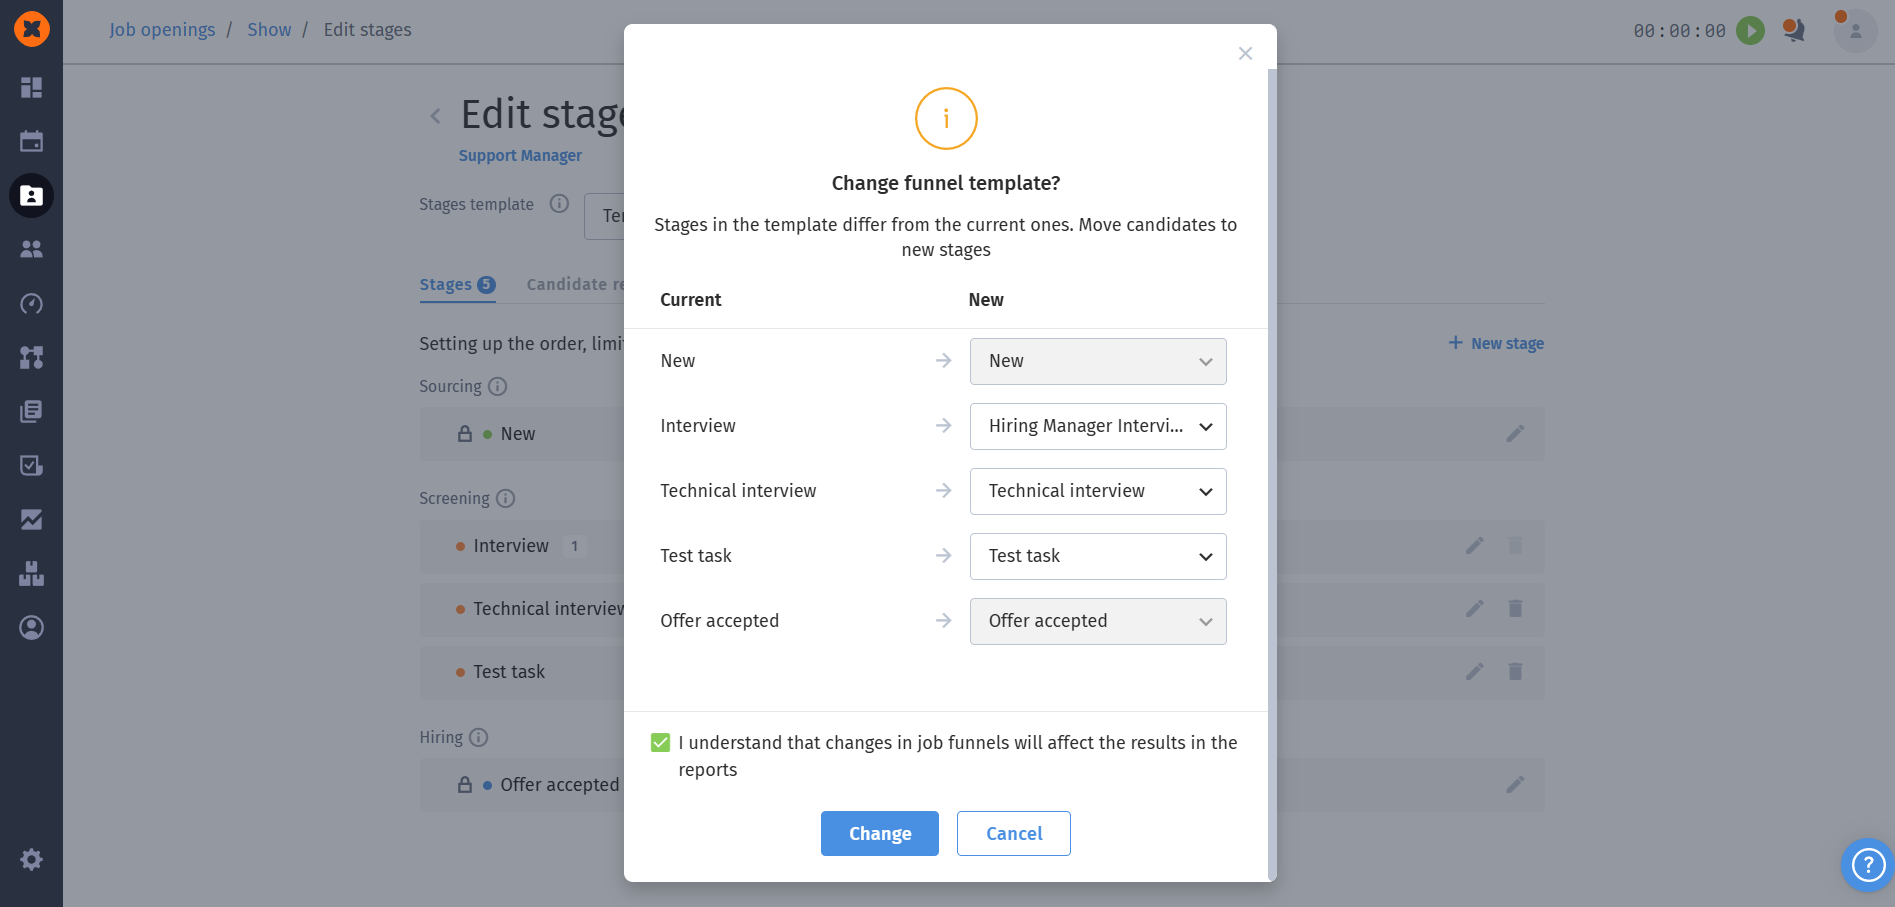
Flexibility of merging: you can transfer several different old stages into one new one. For example, if previously you had separate stages “Call”, “Viber” and “Telegram”, and in the new template there is only a single stage “Initial contact”, you can map all three old stages to this one new stage.
Restrictions by types: the system controls the transition logic. For example, you won’t be able to randomly mix basic system stages of different types – transfer is only possible from a “New” type stage to “New”, or from “Offer accepted” to “Offer accepted”. Other active selection stages can be mapped to each other more flexibly.
2. Double confirmation (protection from accidental actions)
Since changing the structure in an existing vacancy is irreversible, the system will require confirmation:
At the mapping stage, you’ll need to tick a special checkbox: "I understand that changes in job funnels will affect the results in reports".
After clicking the save button, one more final modal window with a warning will appear: "Changes in stages are irreversible and will affect the results in reports".
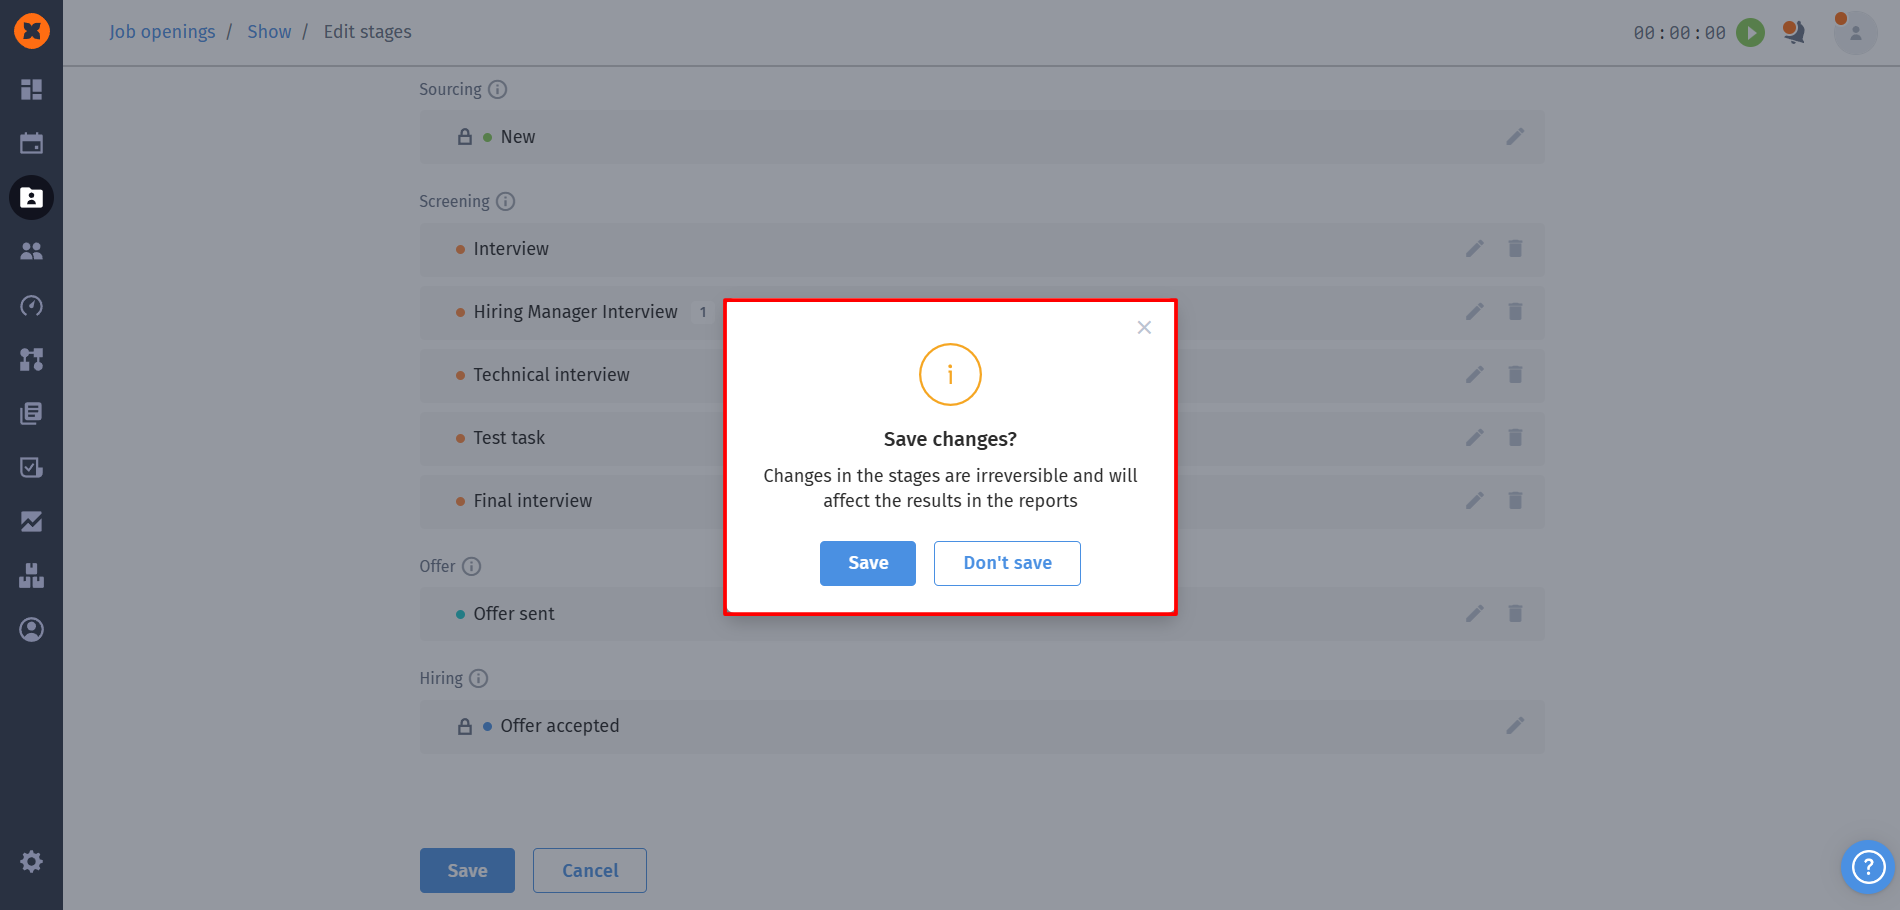
Only after this will the template application be completed.

