When transitioning to a new system, one of the most important stages is transferring existing databases. To save time and avoid entering information manually, the HURMA system provides several tools for bulk import. Below we'll look at what data can be uploaded and how to do it correctly.
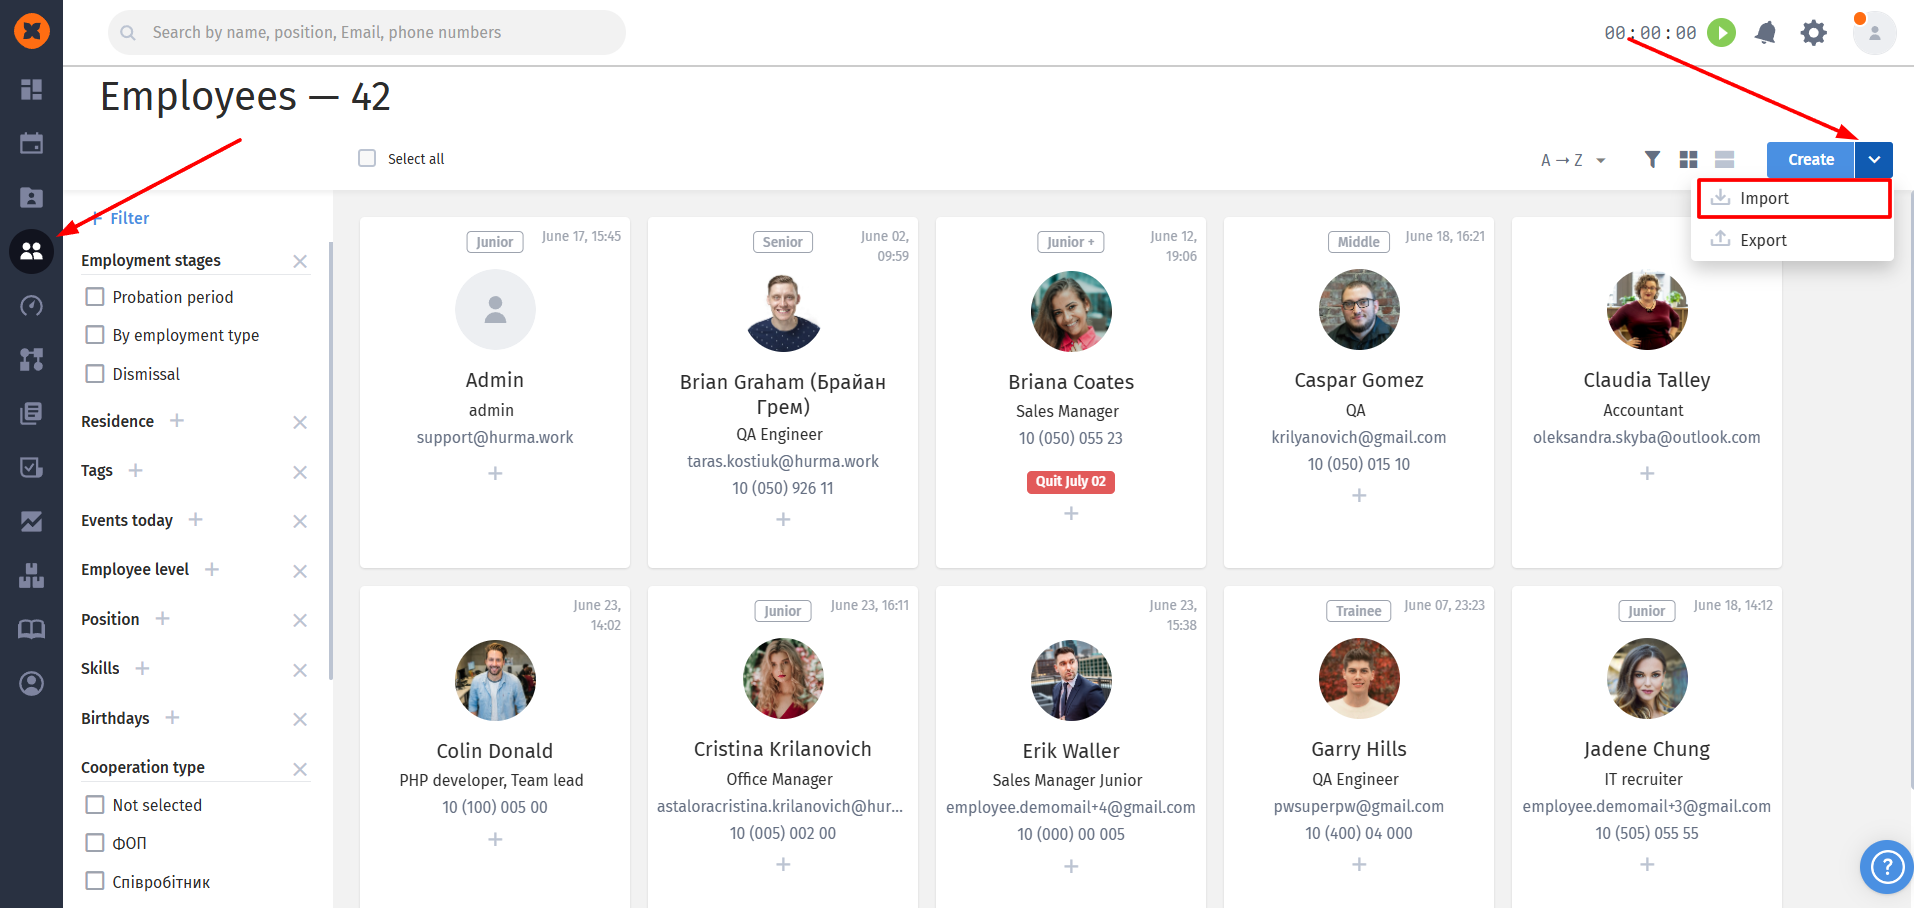
To quickly add your team to the system, bulk employee import is available through table upload. You can perform these actions in the "Company" - "Employees" section using the "Import" option.
Basic rules:
a special template in .xlsx format is available in the system, which you need to download and fill in;
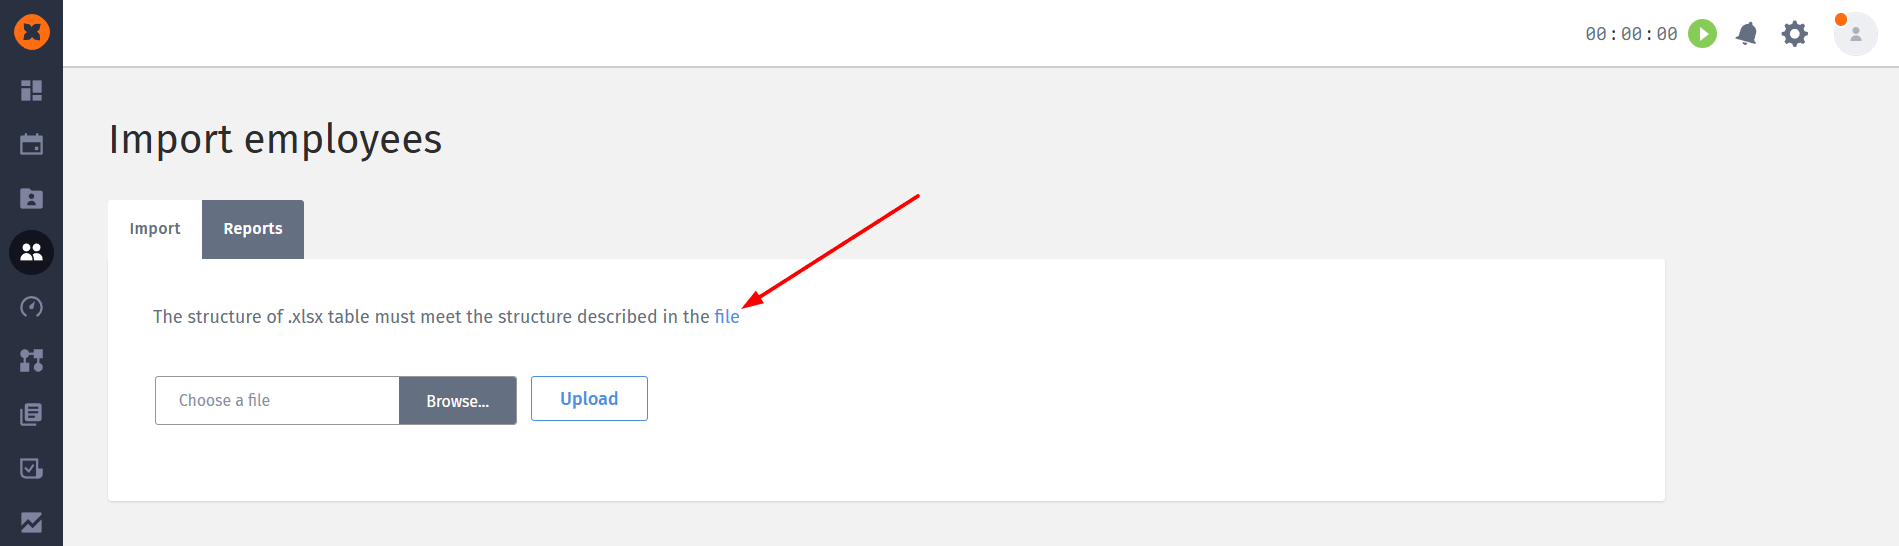
required columns to fill are marked with an asterisk in the template;
we recommend following the formats shown in the examples in the table;
each employee in the table must have a unique email address, as the system checks for duplicates;
if an employee did not have a probation period, you can simply duplicate the date they started working at the company in the corresponding field;
after the import is complete, all users will be assigned the role "Employee";
if you made mistakes while filling out the form, the system will allow you to download a file with their descriptions in the "Reports" tab so you can review and correct them.
Transferring your candidate database will help preserve your recruitment history. The "Candidates" section offers several convenient import methods.
When uploading an xlsx file to the system, the next page will display a table with the ability to map the columns of your table to the corresponding fields in the system.

After dragging all fields, you need to save them using the "Save file" button.

To upload candidates using a zip archive, after clicking the "Import" button, you need to select the required archive and click "Upload".
After that, the system will parse each file and create a separate card for each candidate with information from the resume file.


To upload a candidate database from the Cleverstaff system, you need to export the candidates table and a zip archive with their resumes from that system.
Then you need to go to the HURMA system on the "Candidates" page, select the "Import" option, select the required table and the "clever" option.
Next, you need to distribute the table columns to the corresponding fields in the system.
The next step is to upload a zip archive with candidate resumes using the "Save file" button.
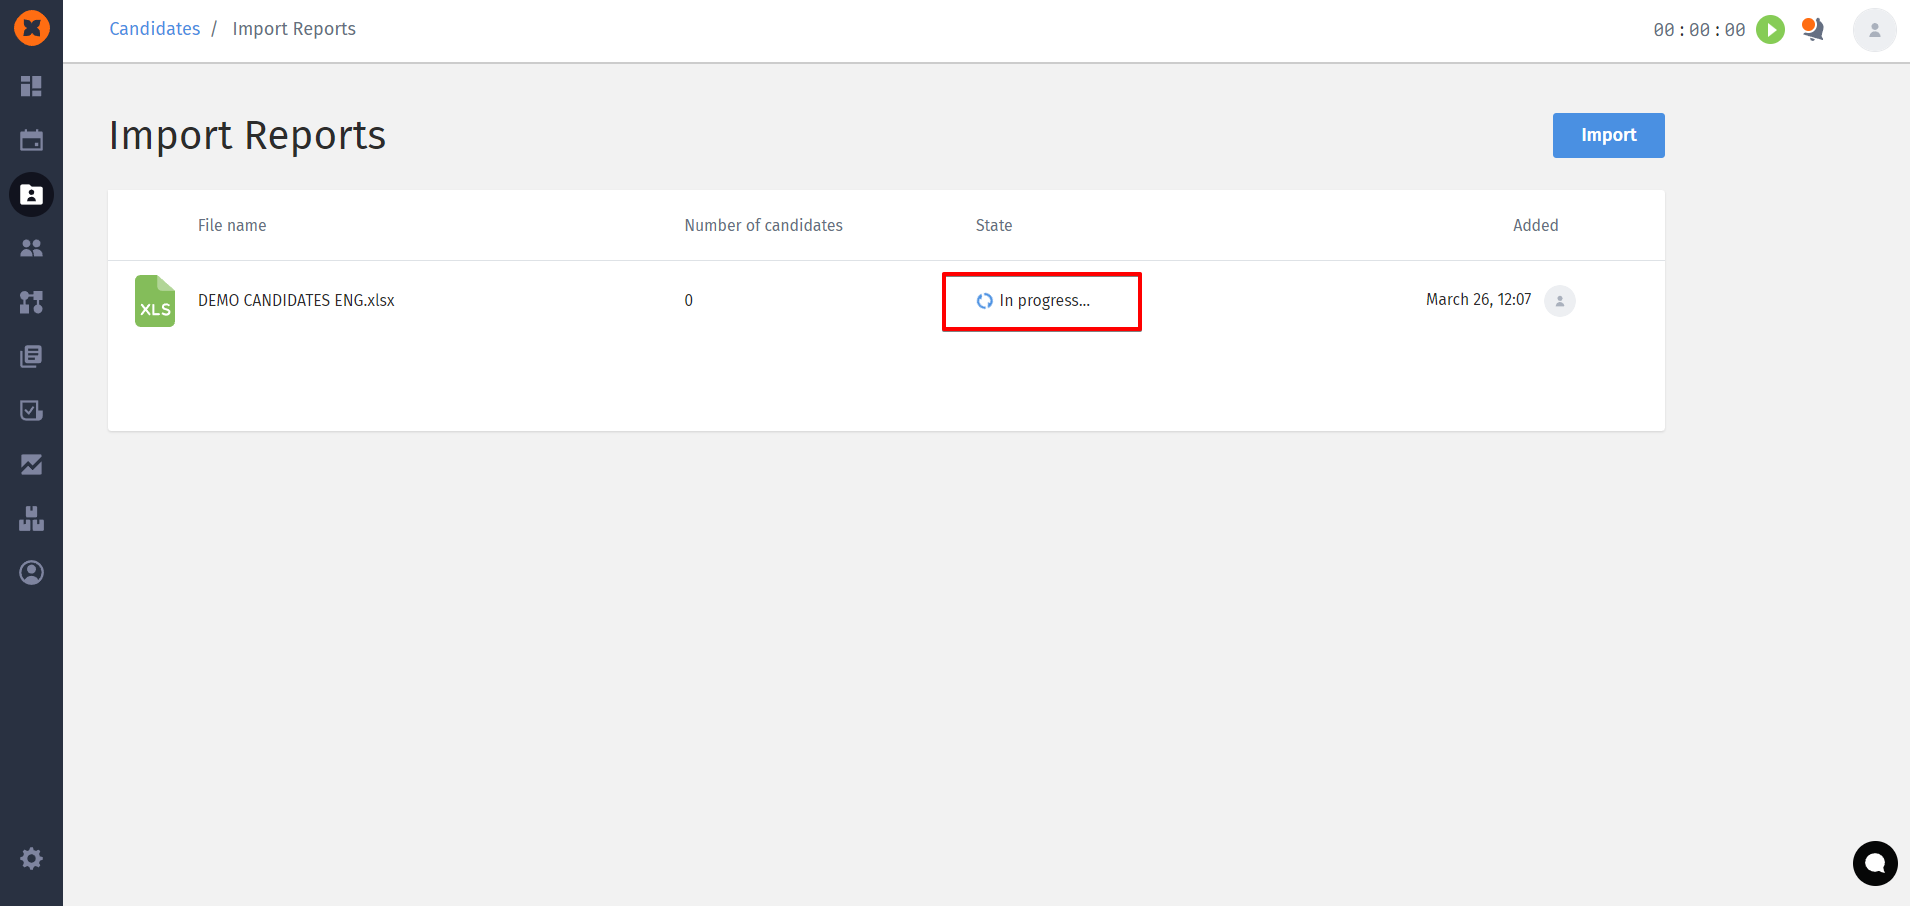
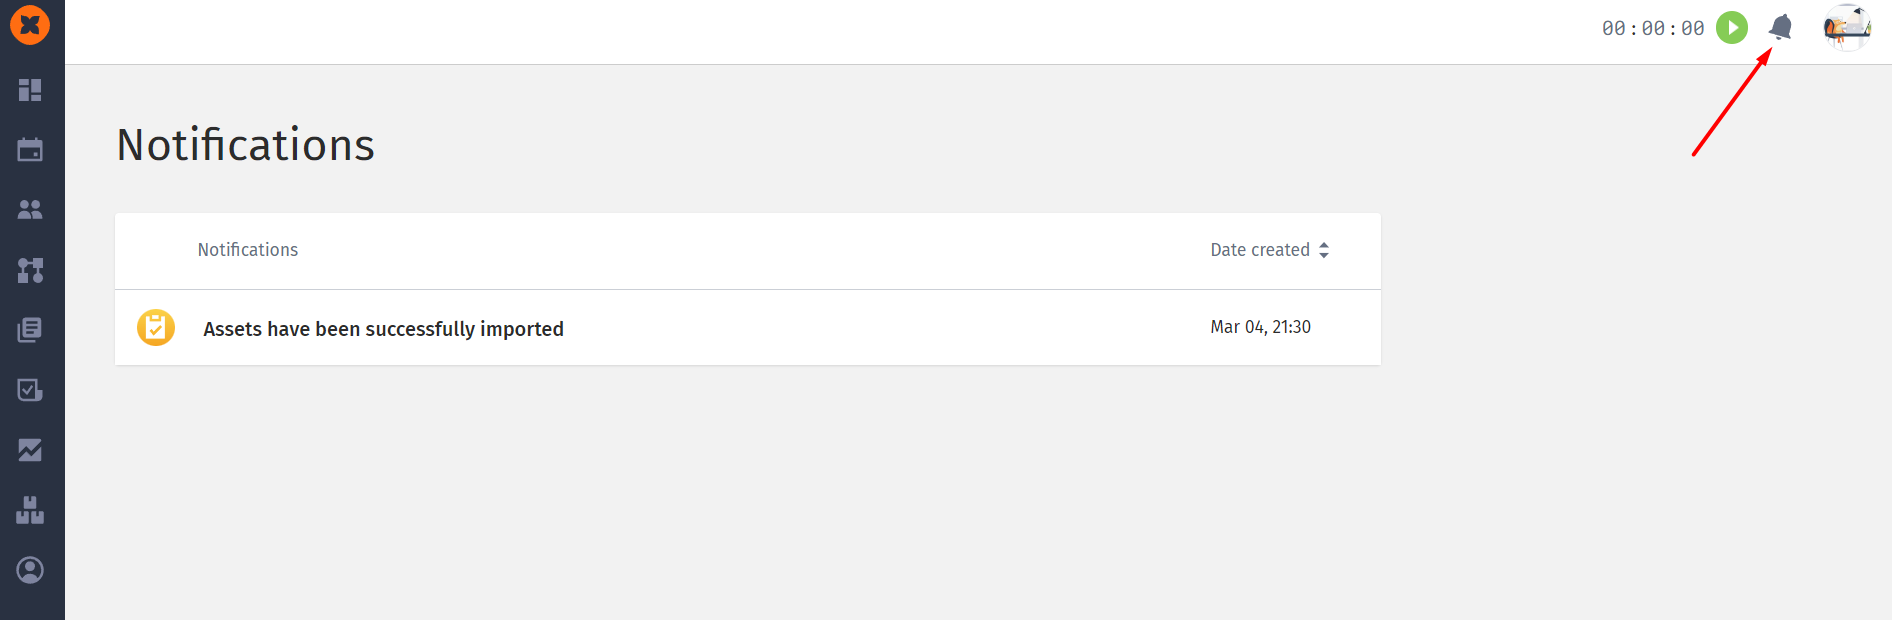
On the "Import Reports" page, you can view the status of the uploaded file.
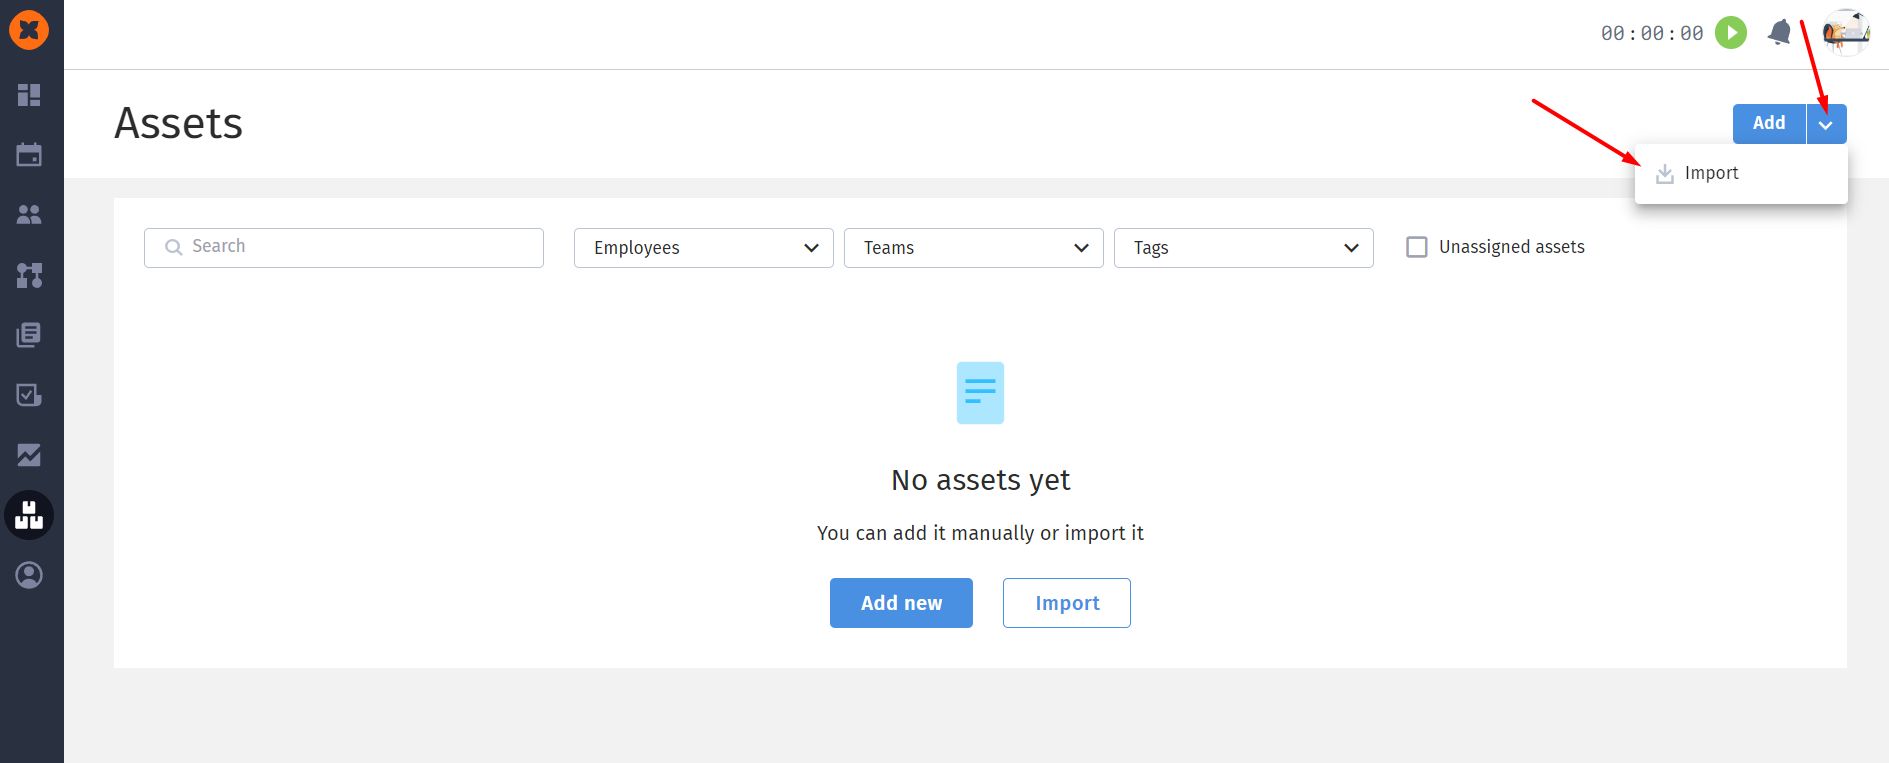
If you have the "HRM PRO" plan enabled, you can import a database of equipment and other company assets to track them in the "Assets" section.
How it works:
Click the "Import" button, and the system will direct you to a Google Sheet.
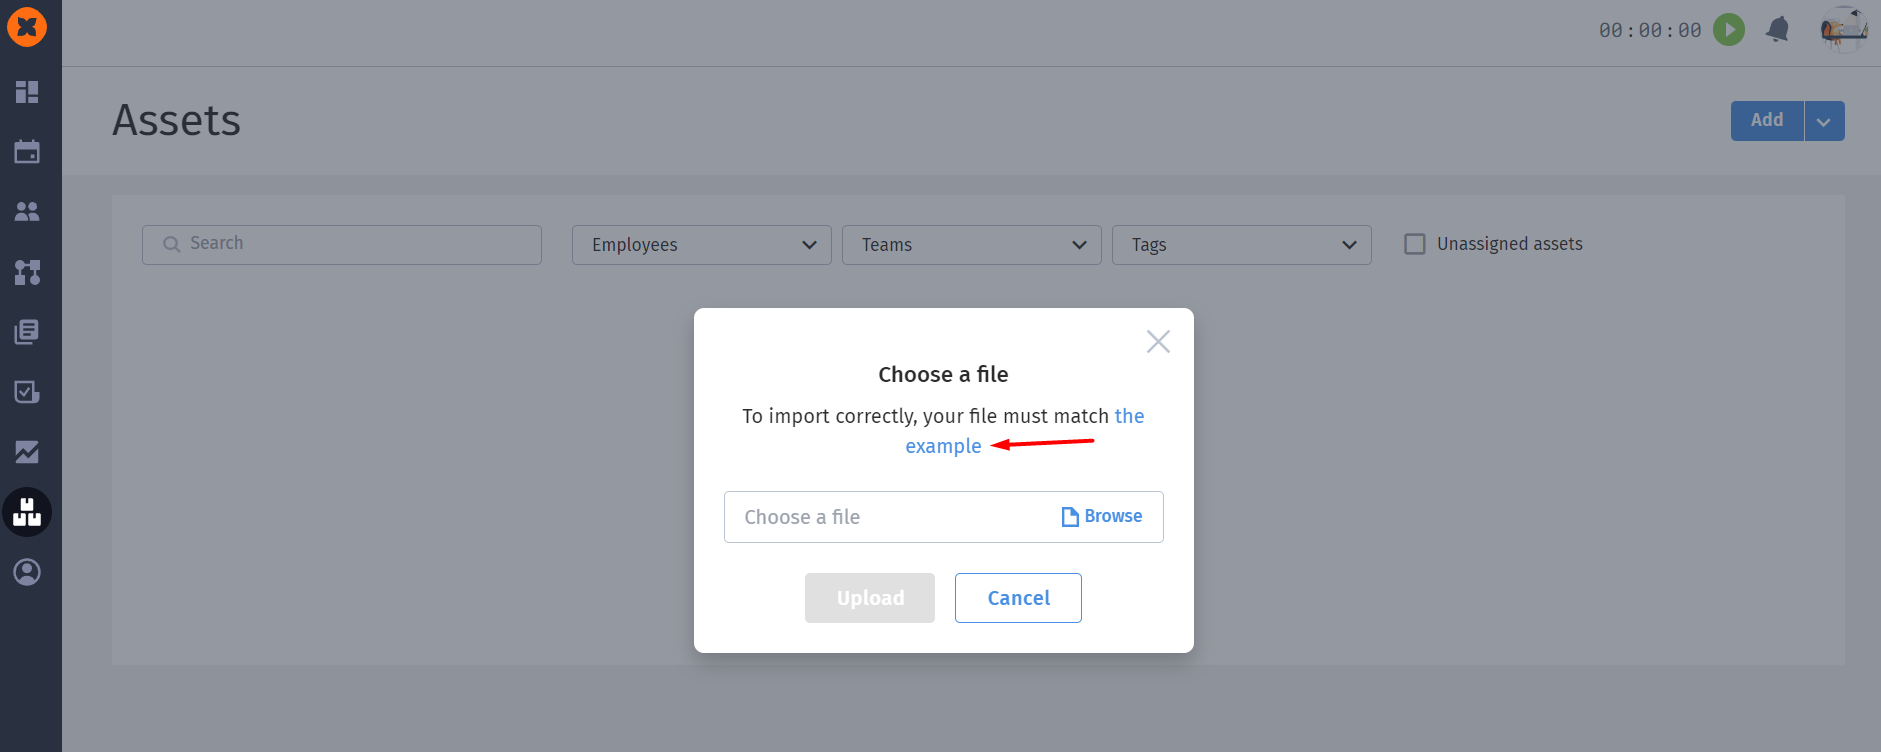
Download this file to your device in .xlsx format or make a copy to your Google Drive.
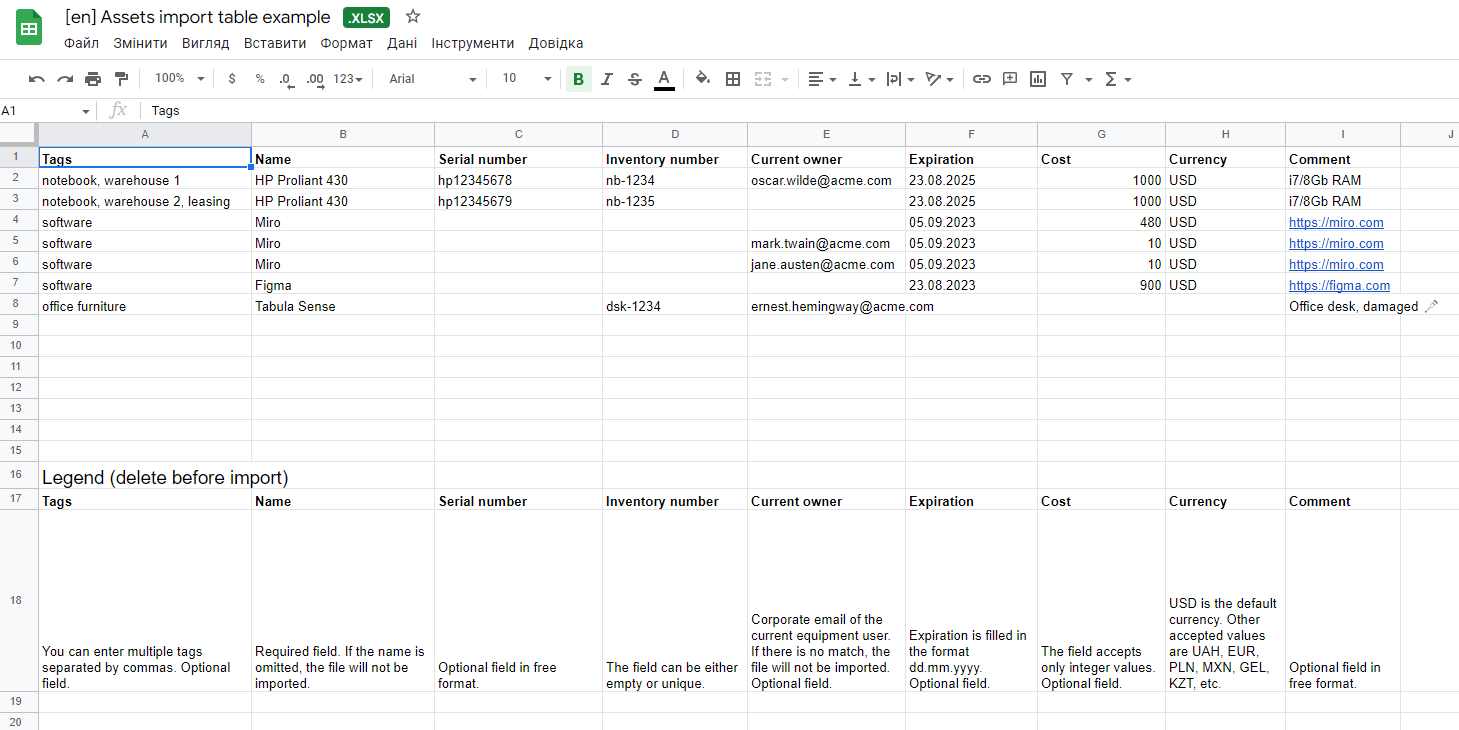
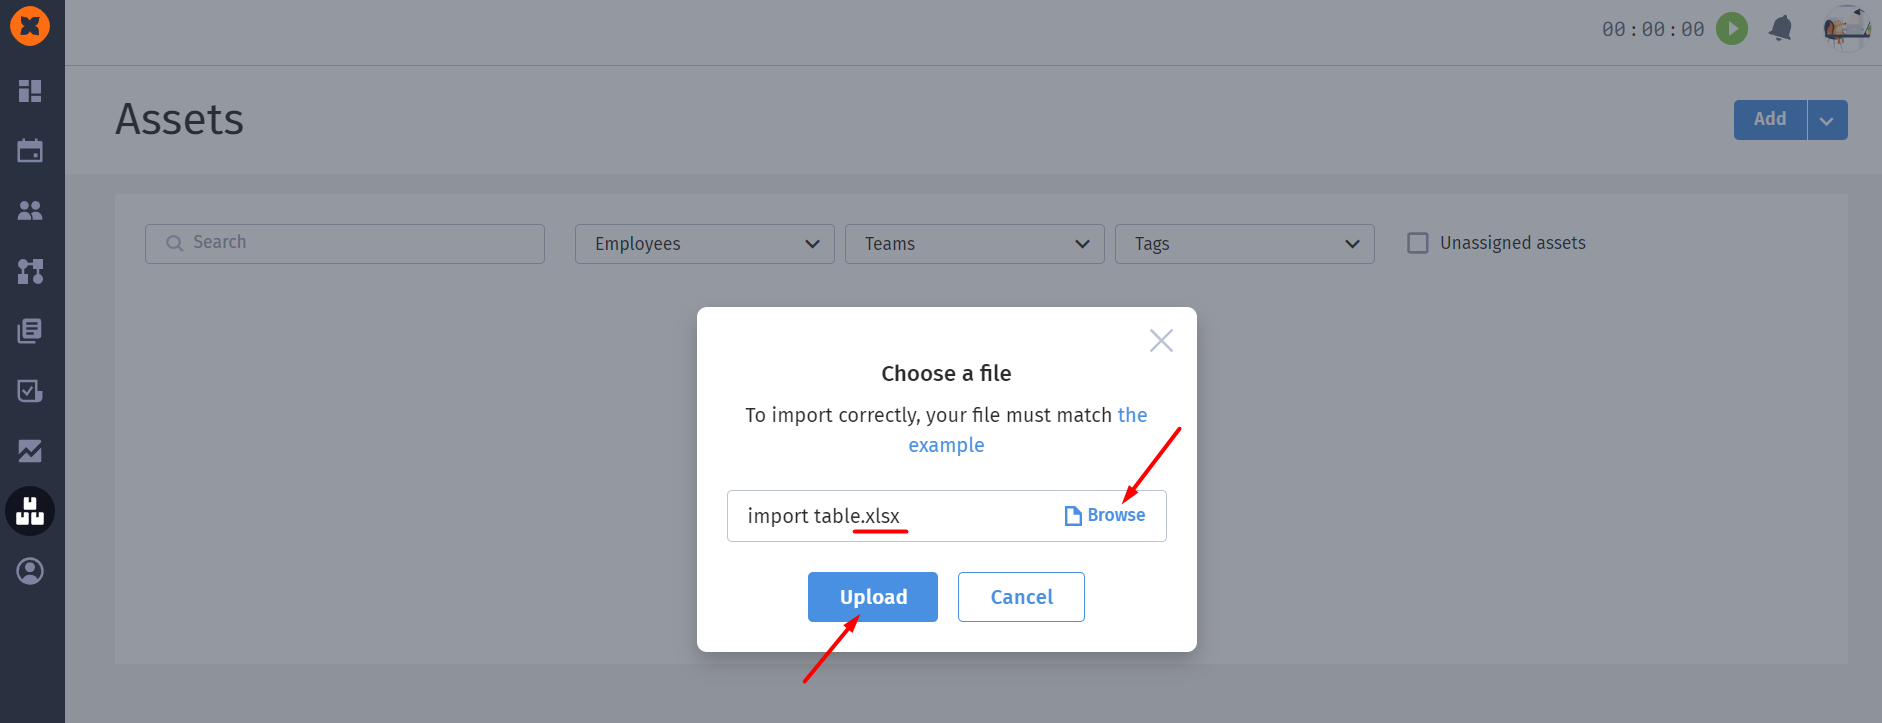
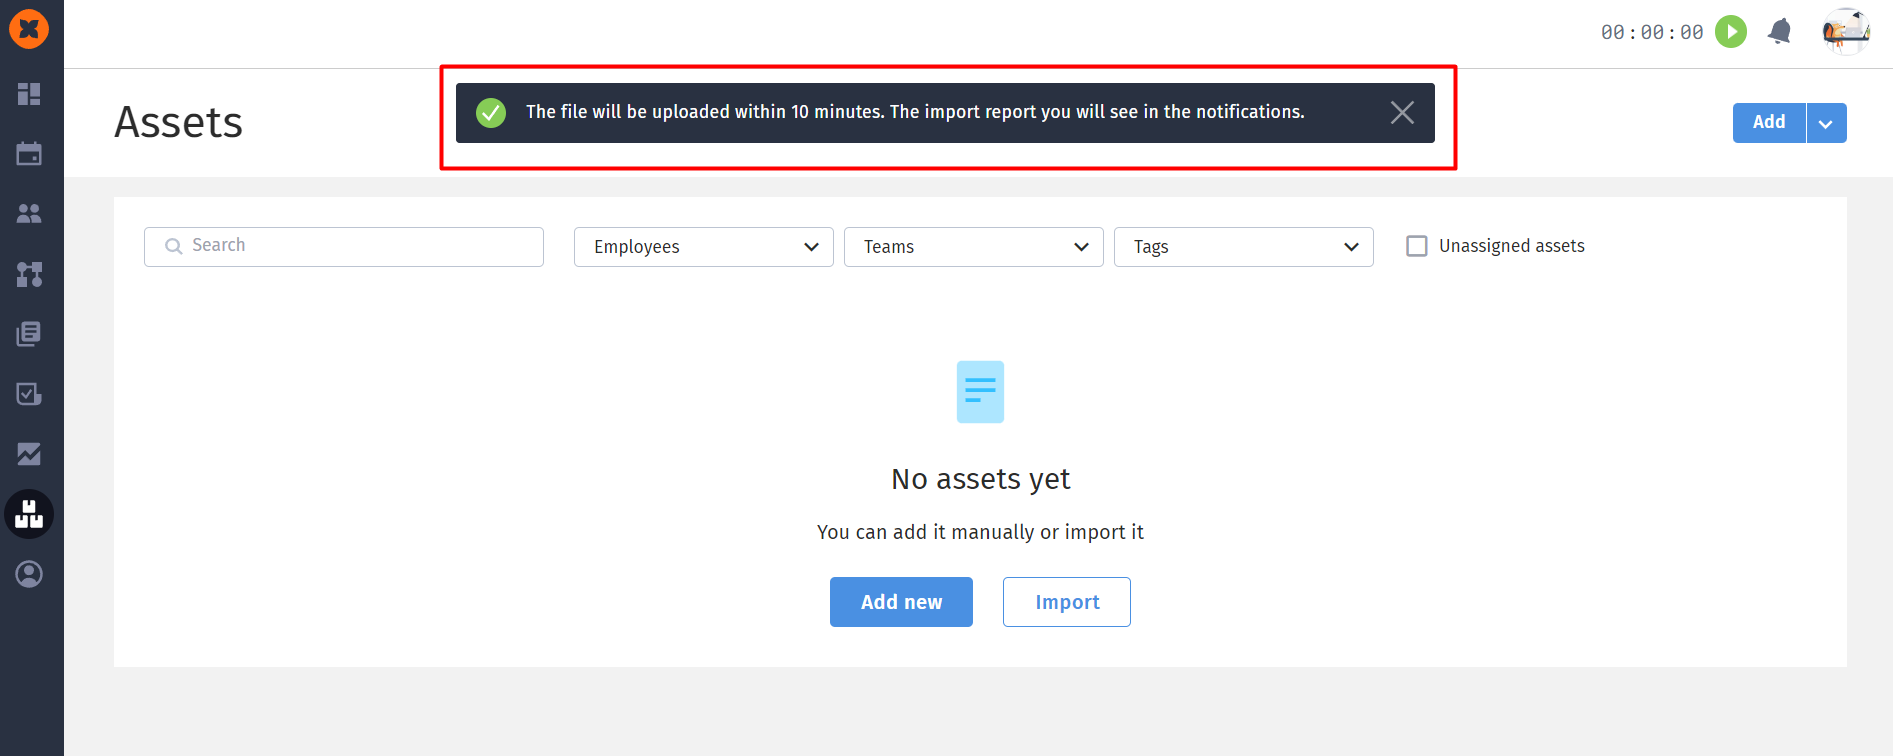
Fill in the spreadsheet with your data and upload it to the system.
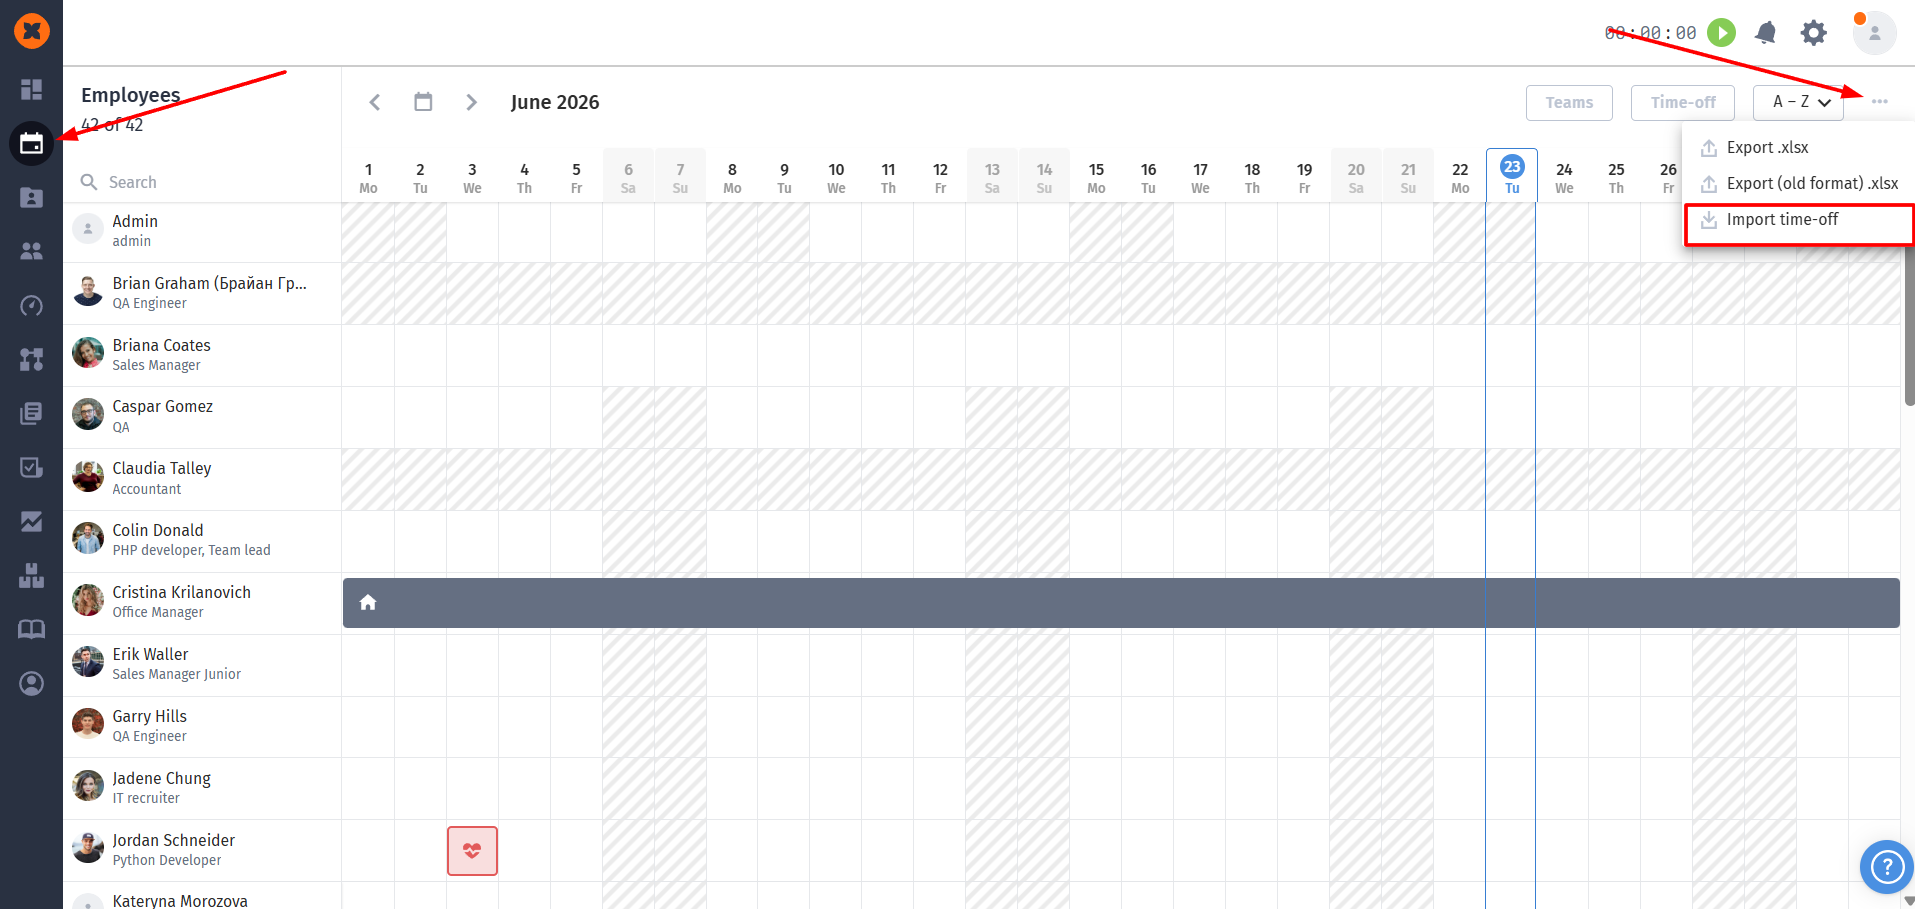
In addition to the employee list, you can also transfer their absence history so that vacation and sick leave balances are up to date. This is done using a special Excel template in the "Schedule" - "Import tie-off" section.
How to fill in the time-off table:
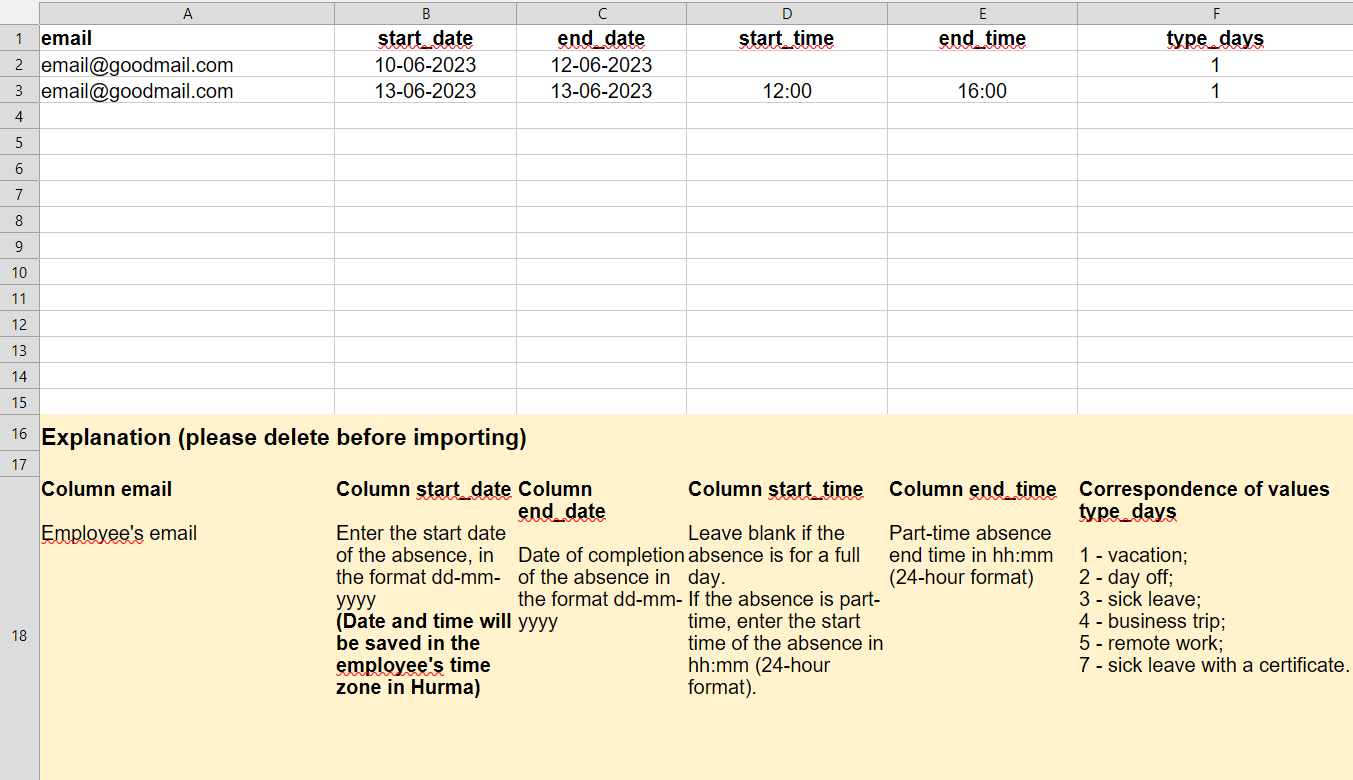
email: employee's corporate email;
start_date and end_date: absence start and end dates in dd-mm-yyyy format;
start_time and end_time: filled in 24-hour format (for example, 12:00 and 16:00), if the employee was absent only part of the working day. For full-day absence, these columns should be left empty;
type_days (absence type): indicated by the corresponding numeric code:
1 - vacation;
2 - day off;
3 - sick leave;
4 - business trip;
5 - remote work;
7 - sick leave with a certificate.
Using these bulk import tools, you'll be able to quickly populate the system with relevant data and seamlessly start full-fledged work in HURMA.
