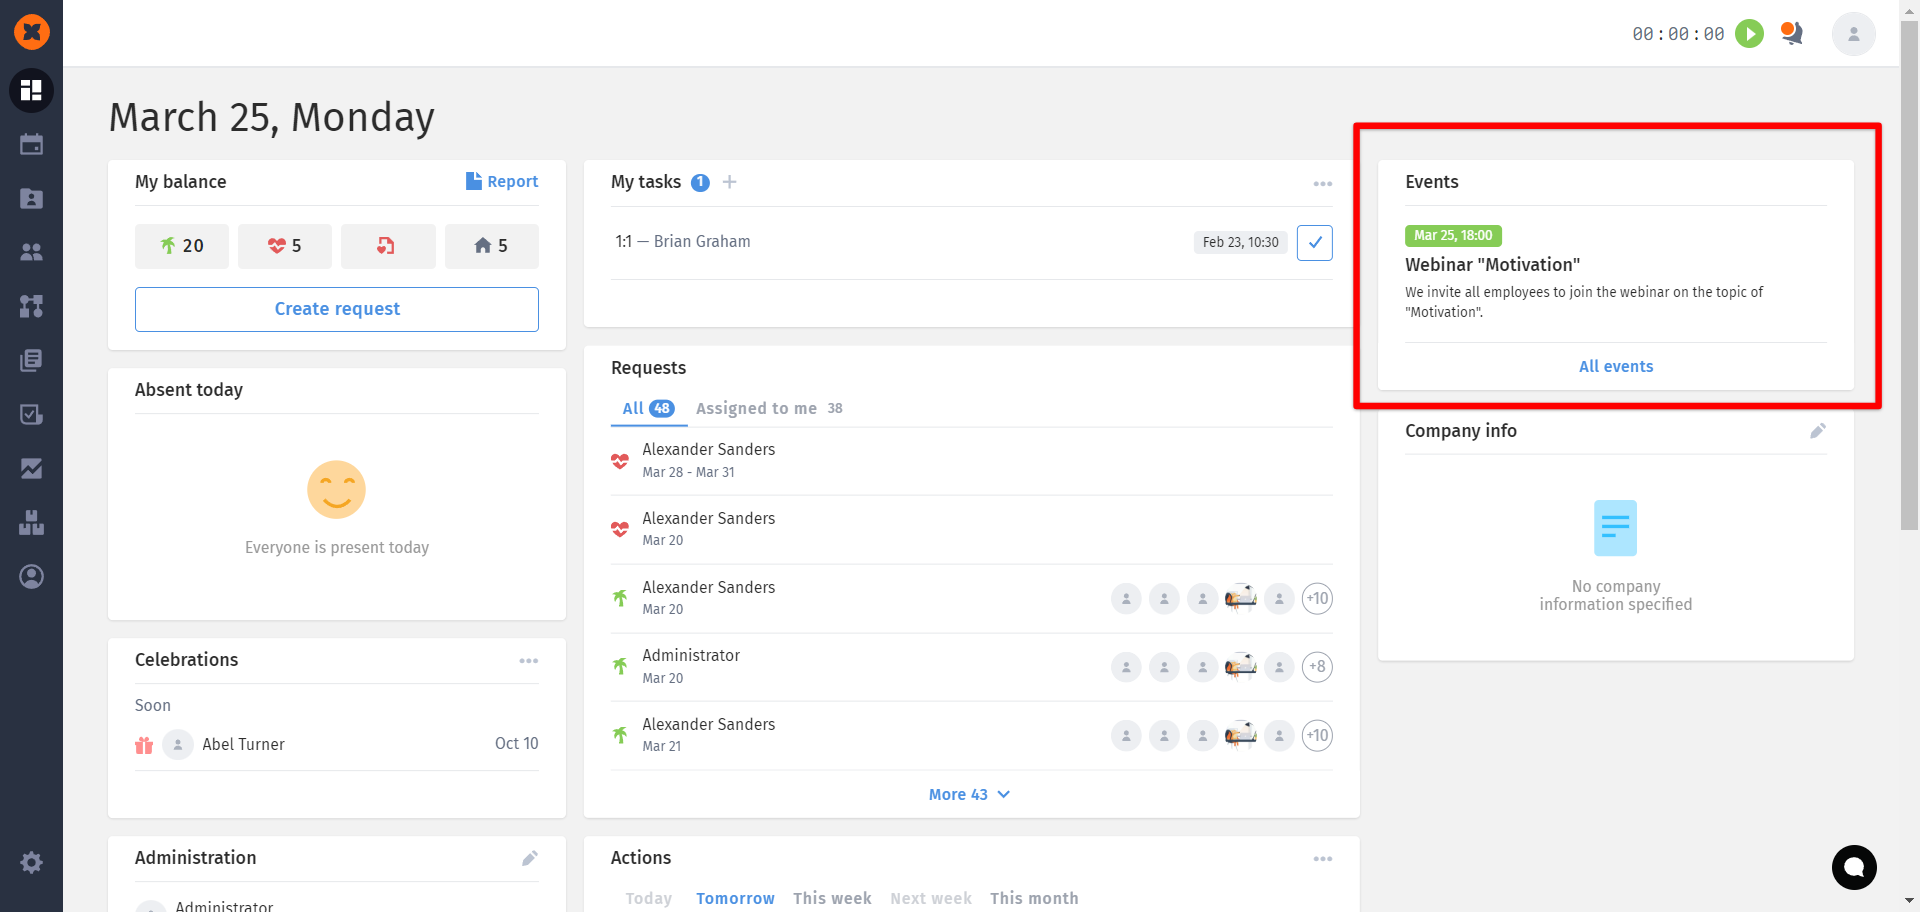
In the "Events" section, you can create company-wide events and provide information about their organization or changes within the company, which will be accessible to all system users in the "Dashboard" and "Calendar" sections.
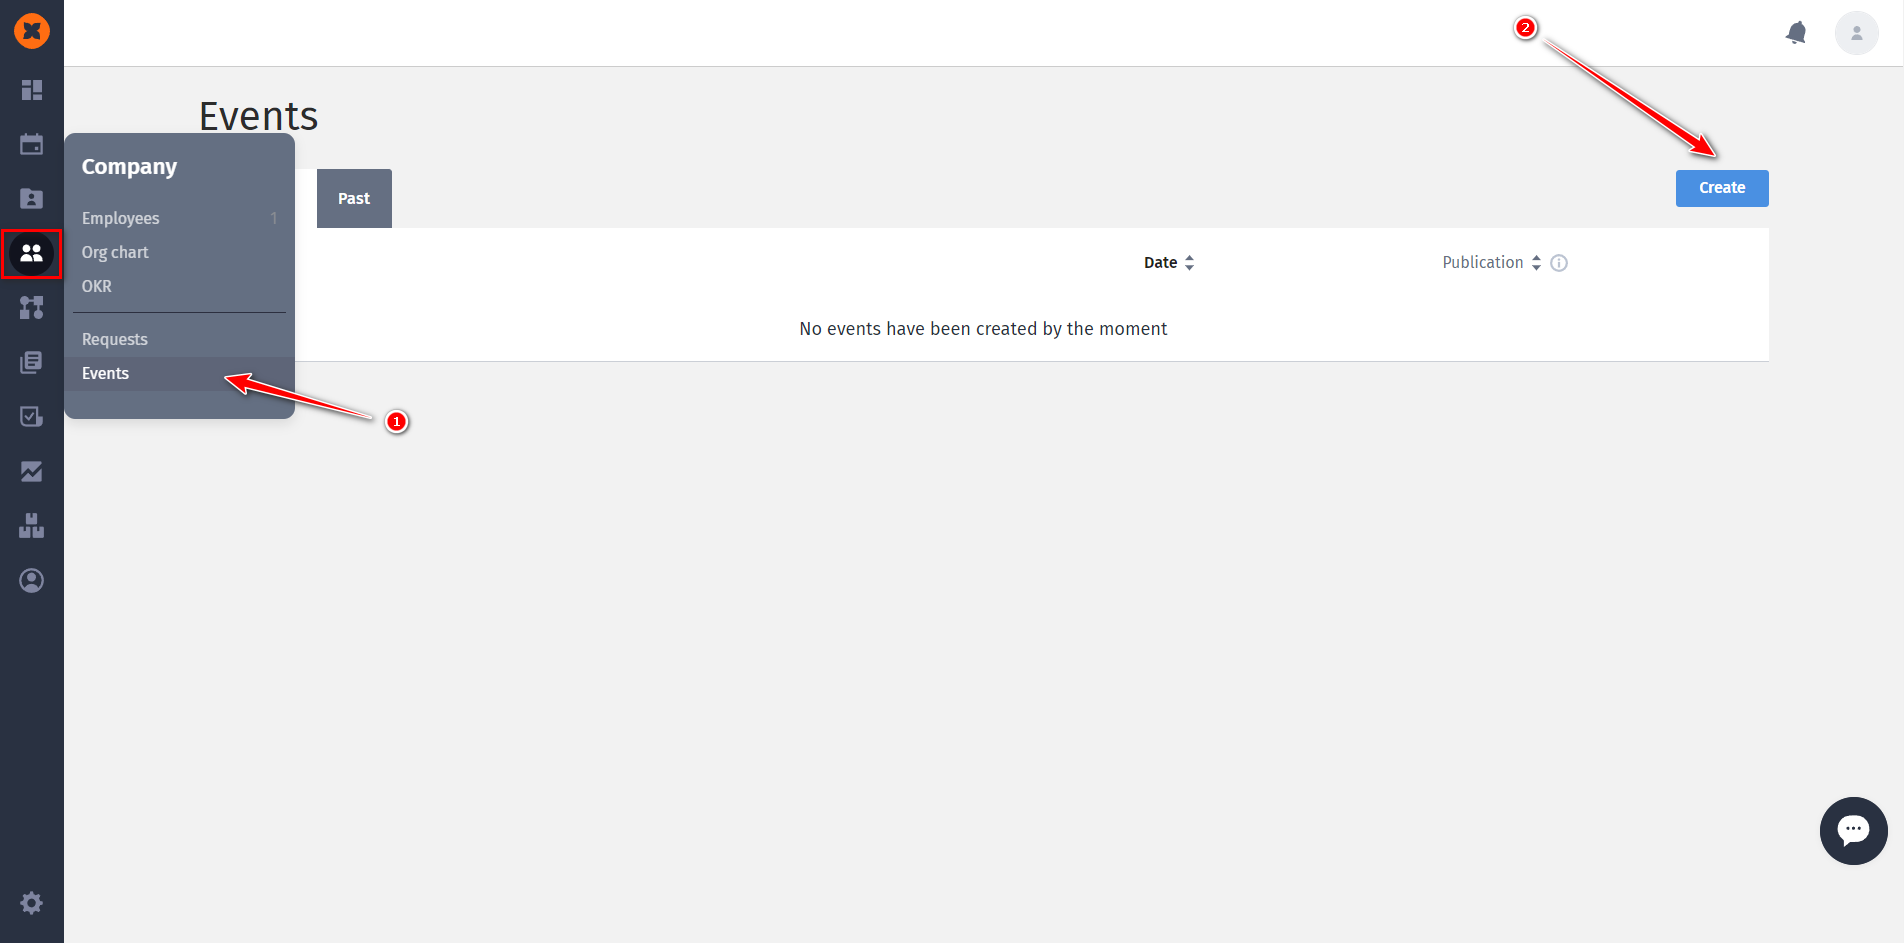
To create an event, go to the "Events" section and click the "Create" button.
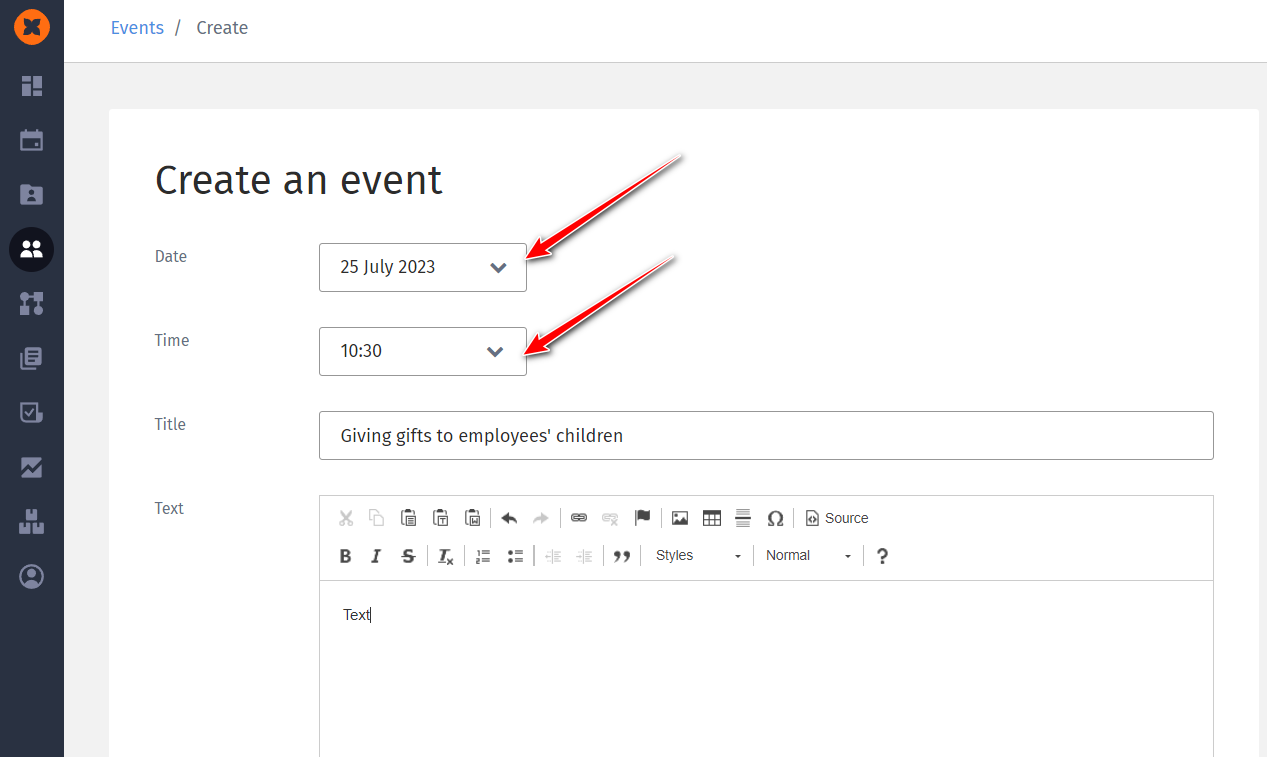
Next, fill in the mandatory fields - date and time, event name, and its description.
When creating an event, you have the option to immediately publish it to all system users by checking the "Publish" checkbox. If you uncheck the box, you will create the event as a draft.
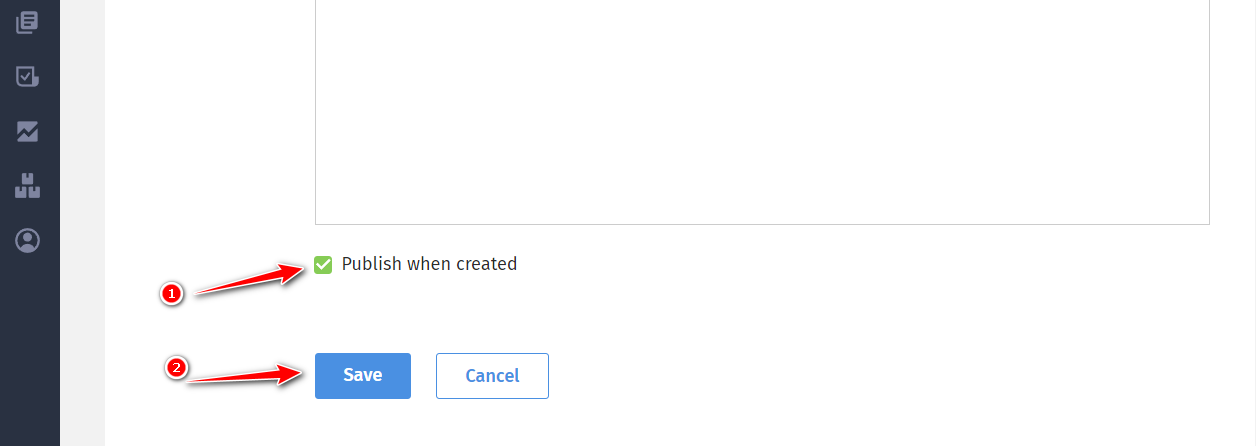
In that case, the draft will be available in the "Upcoming" section, and by clicking "Publish," the event will become public on the dashboard for all your employees.

You will find past events in the "Past" section. In this section, you also have the option to publish an event or remove it from publication.

In both sections, you can delete or edit events.
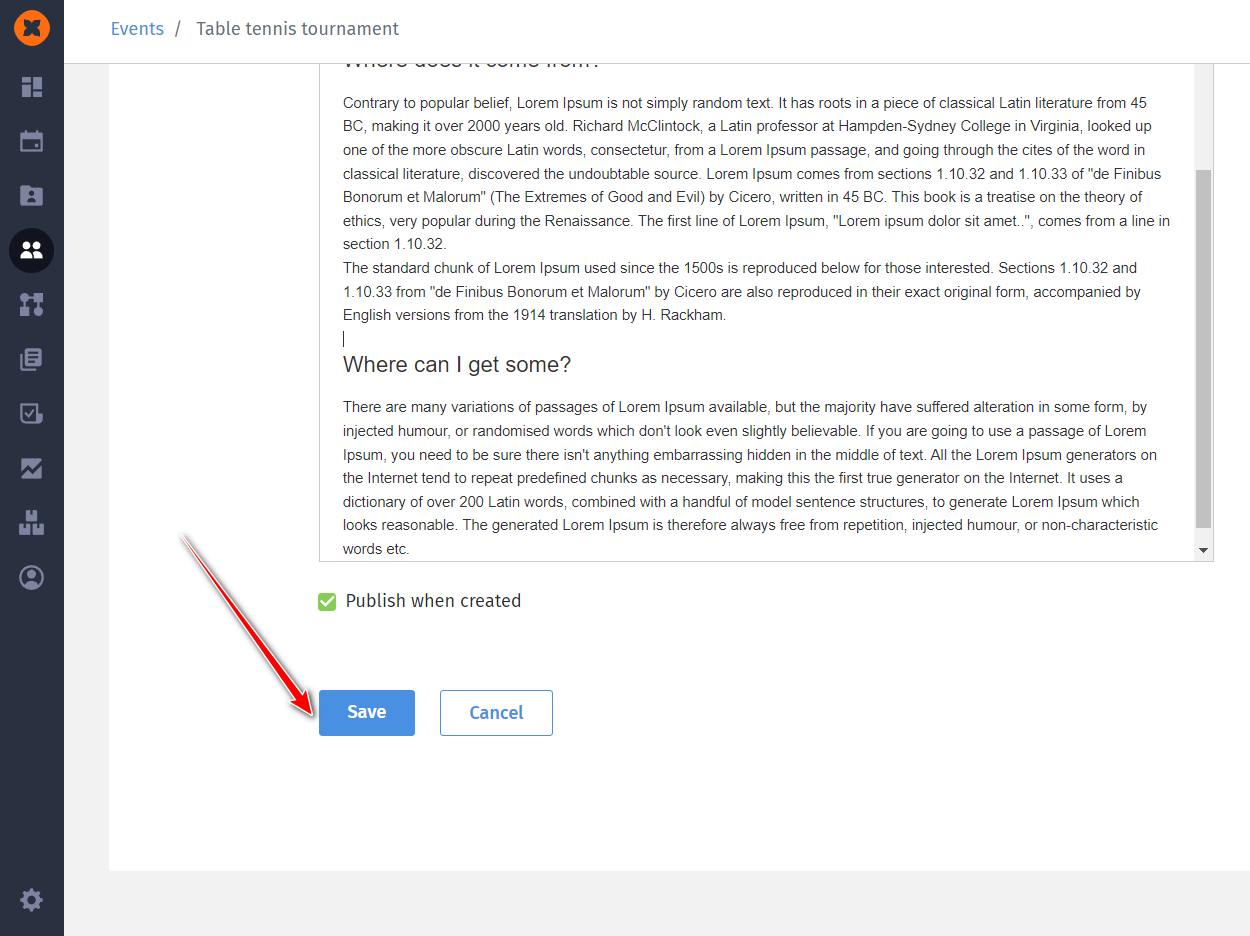
Simply click on the event name to open the editing page. Make the changes and click the "Save" button.

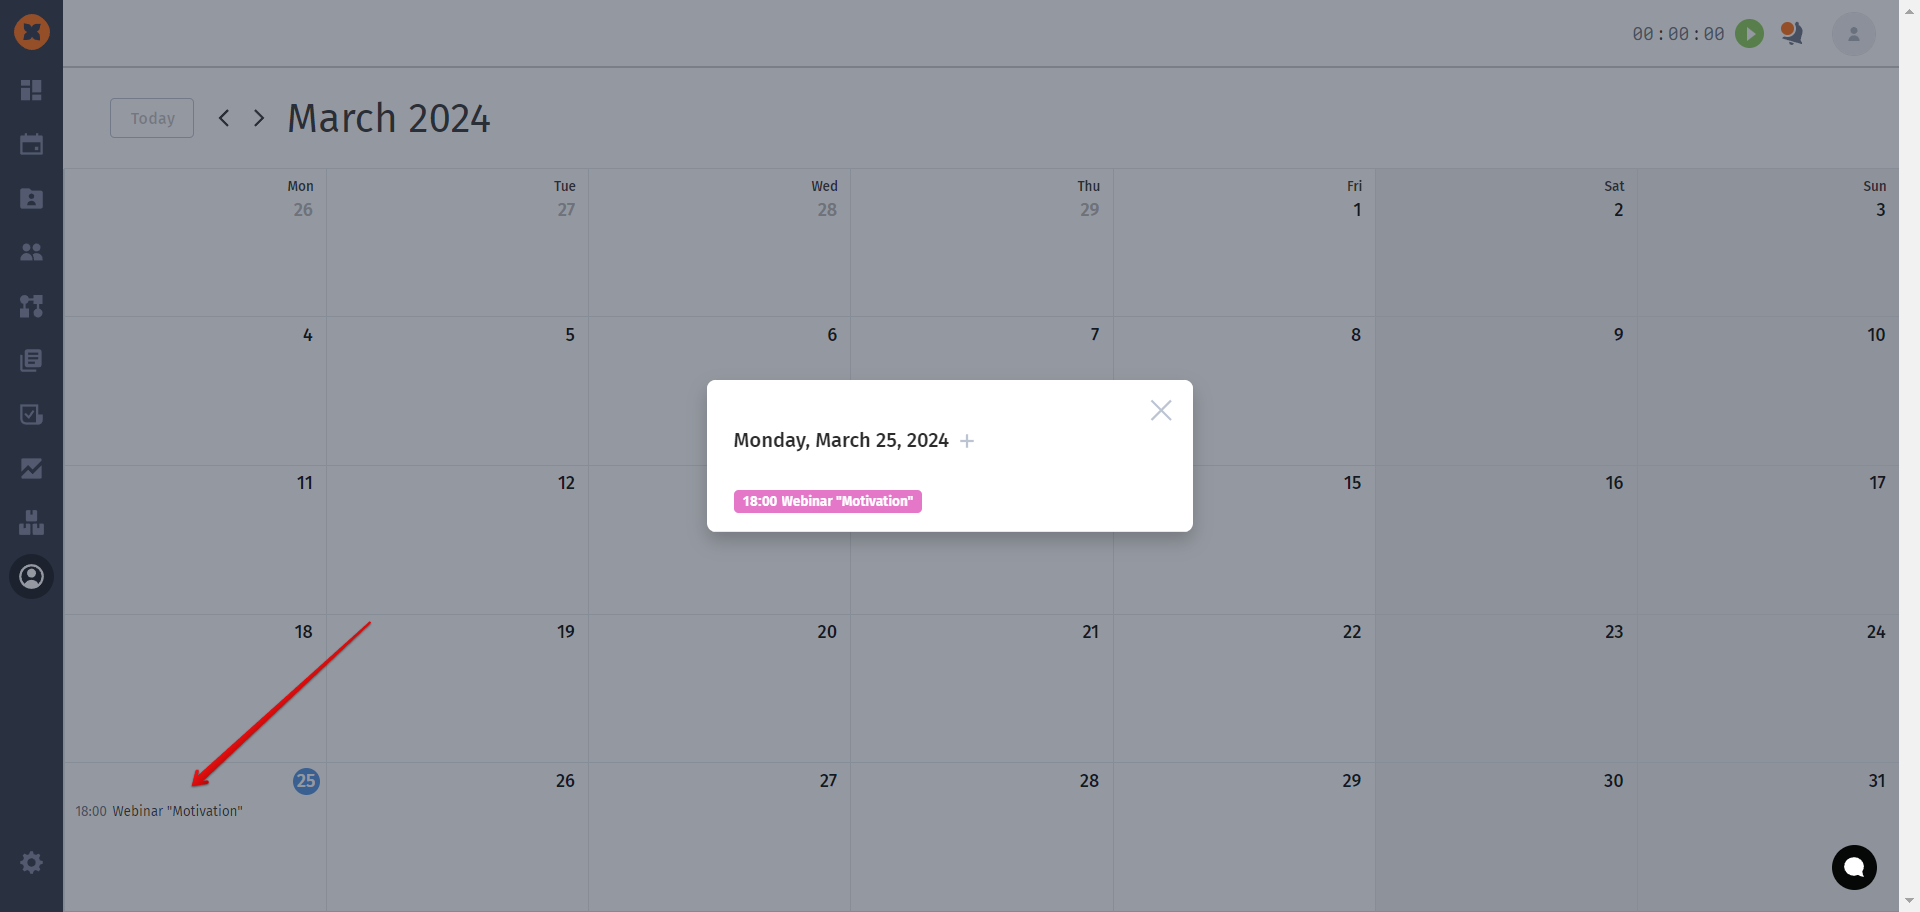
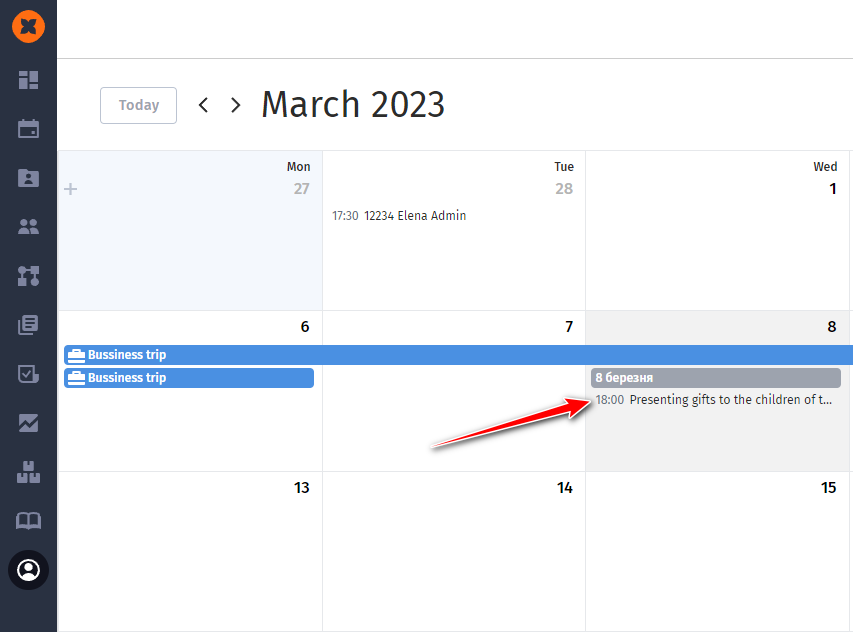
Published events are displayed in the personal calendars of all system users.
Also, on the dashboard, under the "Events" section, all employees can click on the "All events" button to view the entire company's event list.

Depending on the user's notification settings, they will receive reminders about events, namely:
Morning reminder about upcoming events.
Reminder 10 minutes before the event starts.
Notifications can be configured on the "Account Settings" page - "Notifications" tab.
